How To Create Your Own Photo Studio At Home
The global pandemic has undoubtedly changed our lives. Due to a magnitude of cases worldwide, numerous governments have enforced lockdowns in which we have to spend extensive periods of time at home. Many people have resorted to their hobbies and working from home. One of the past times and careers that has been revitalized is photography, especially, studio photography and we're going to help you create your own professional and cost-effective studio at home with our tried and tested, innovative tips and trade secrets.

CHOOSING THE RIGHT BACKGROUND
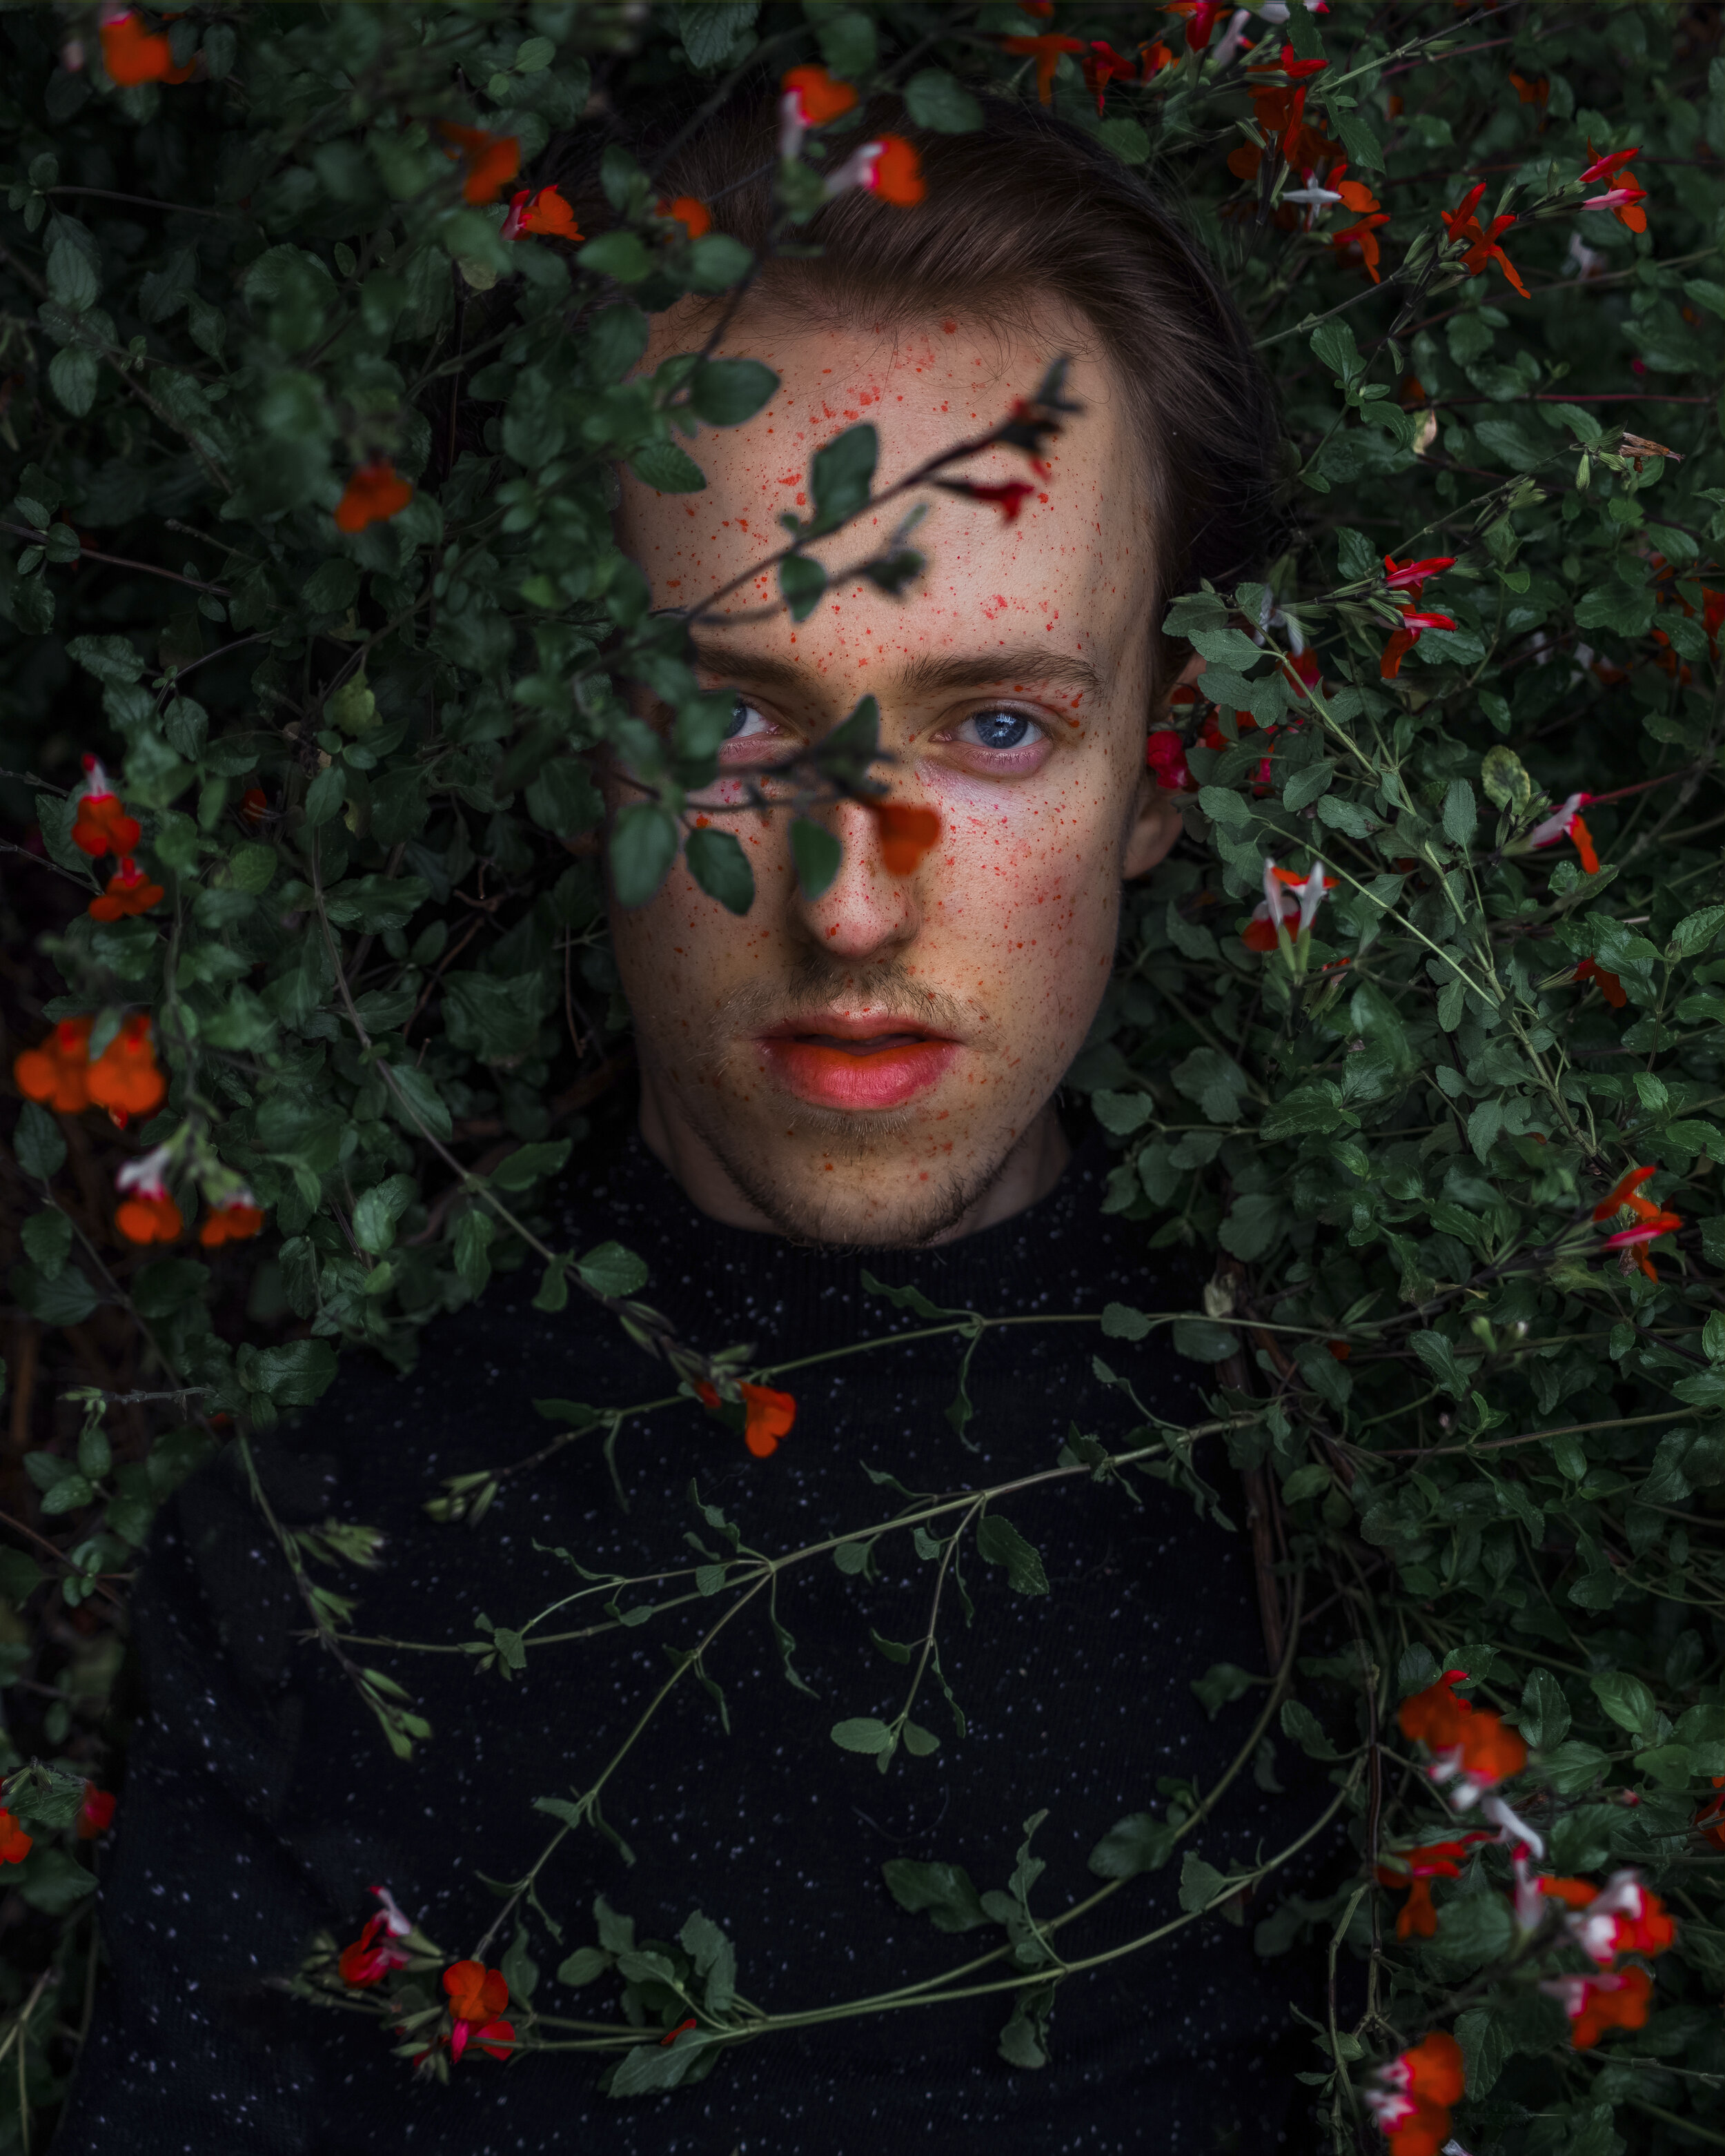
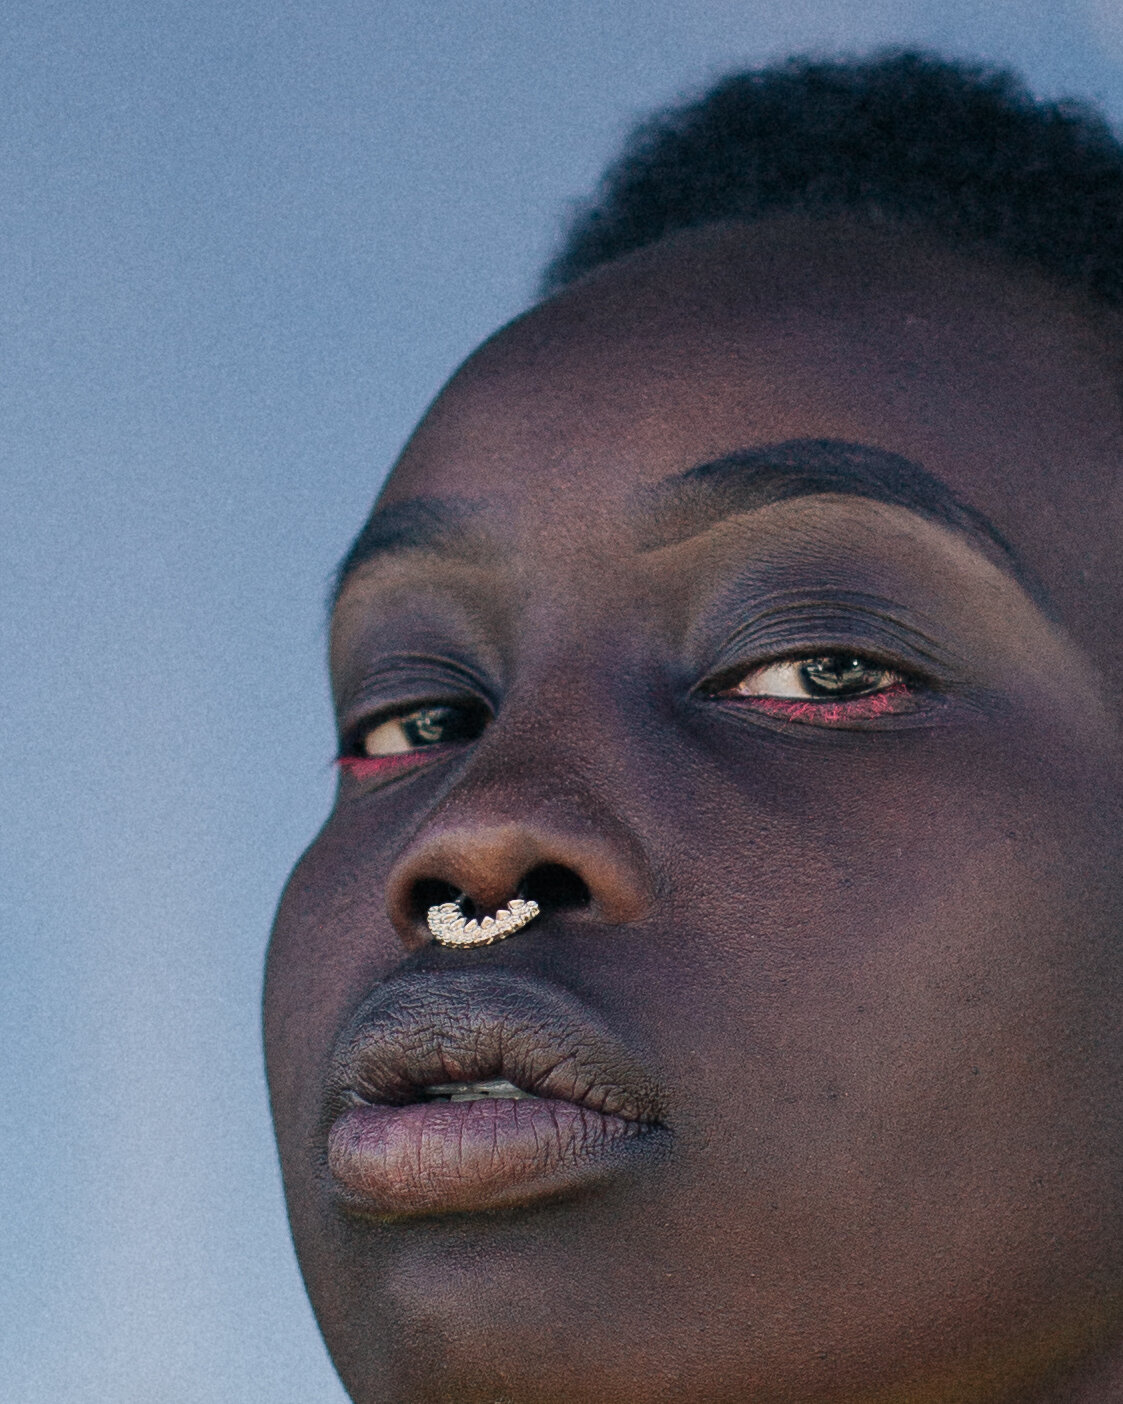
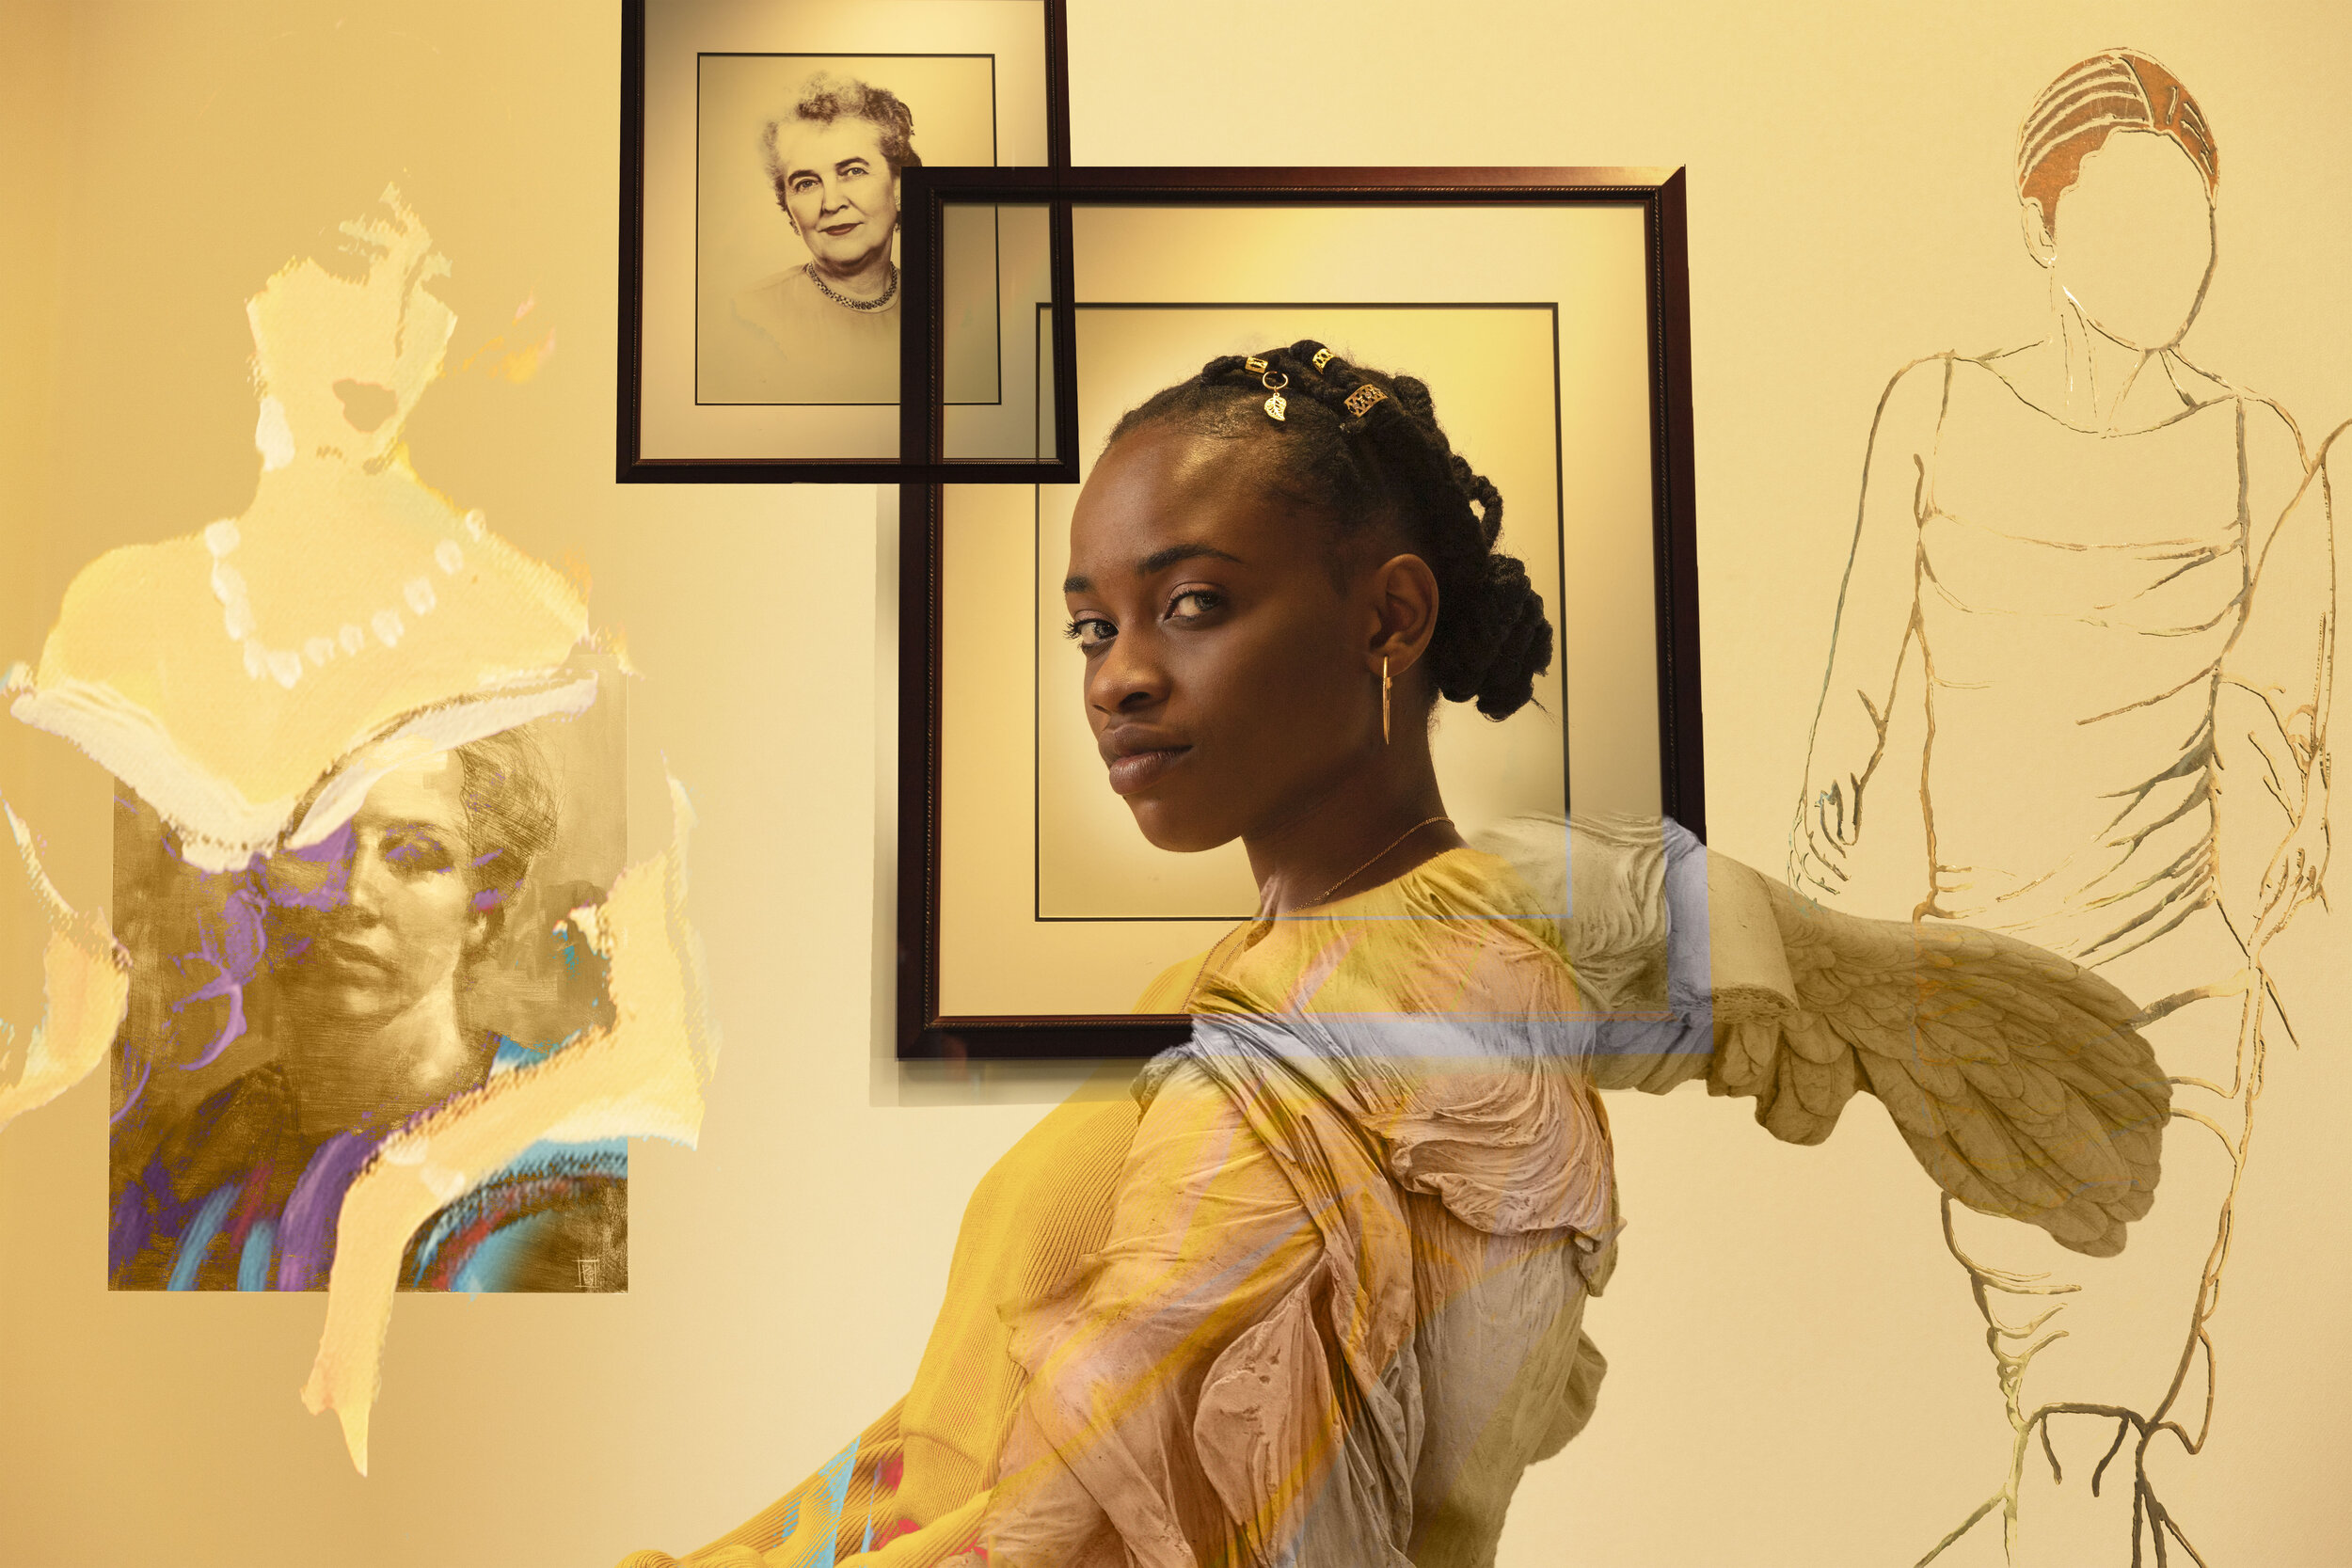
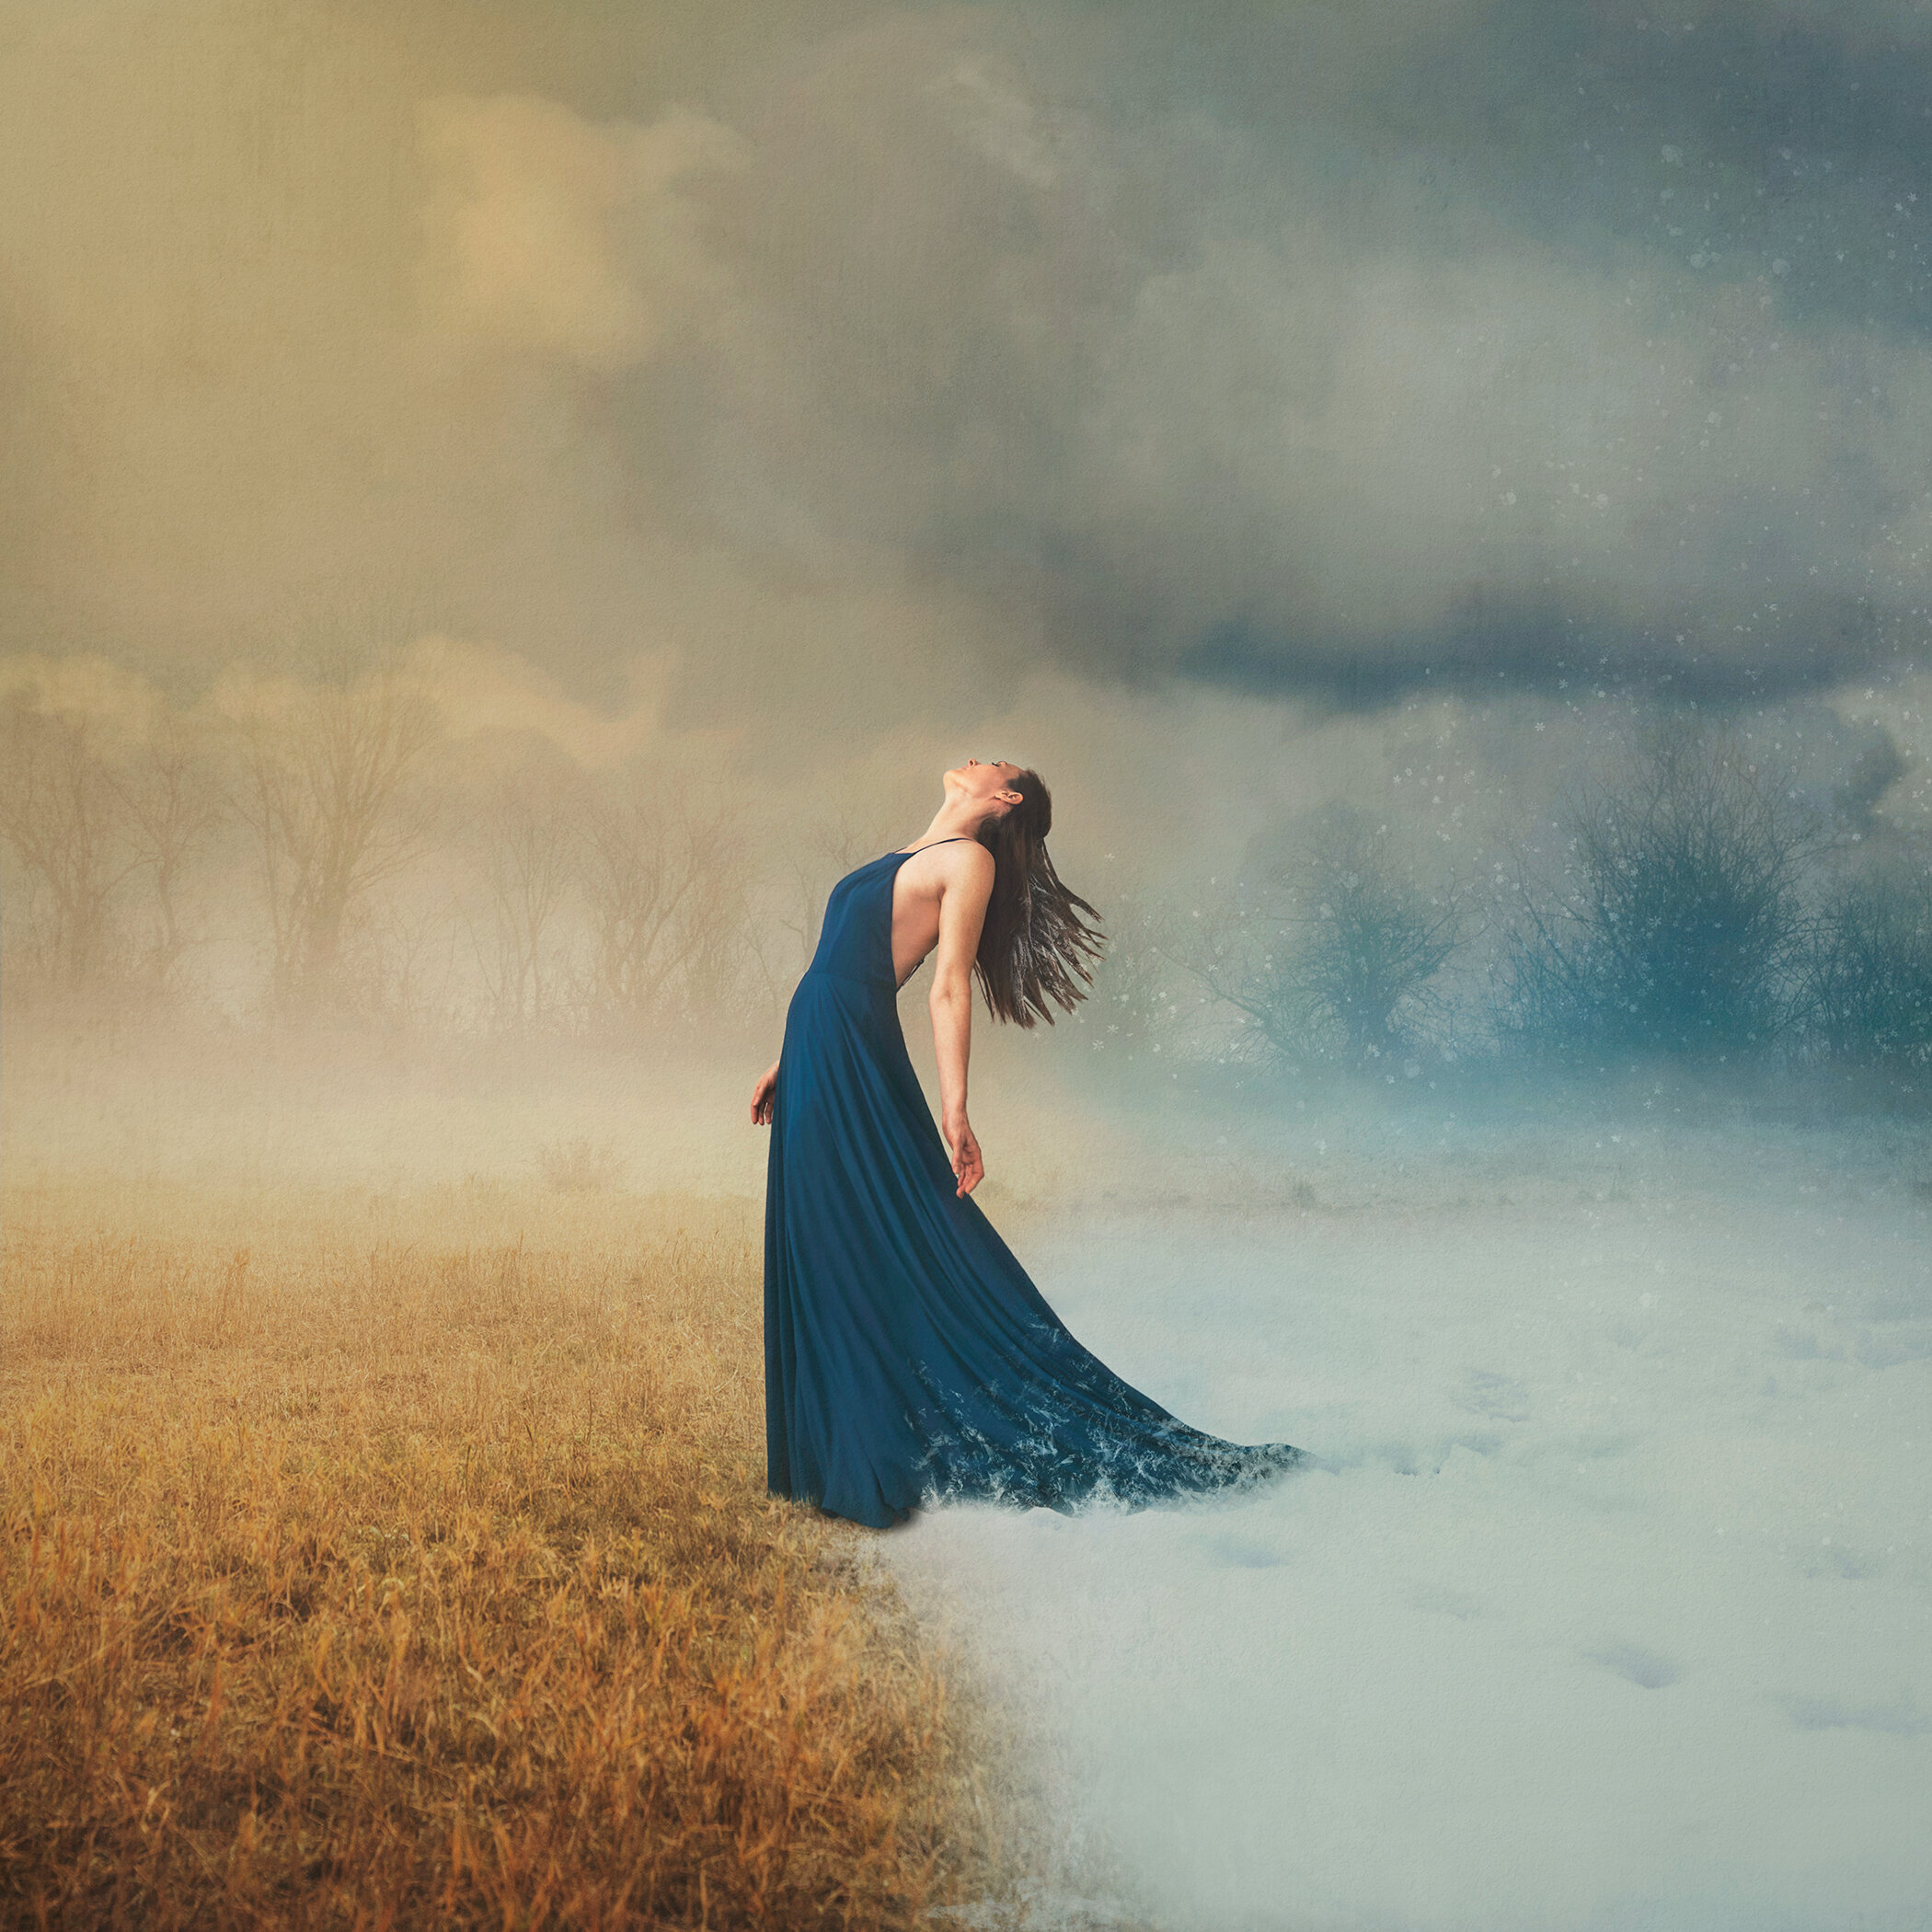
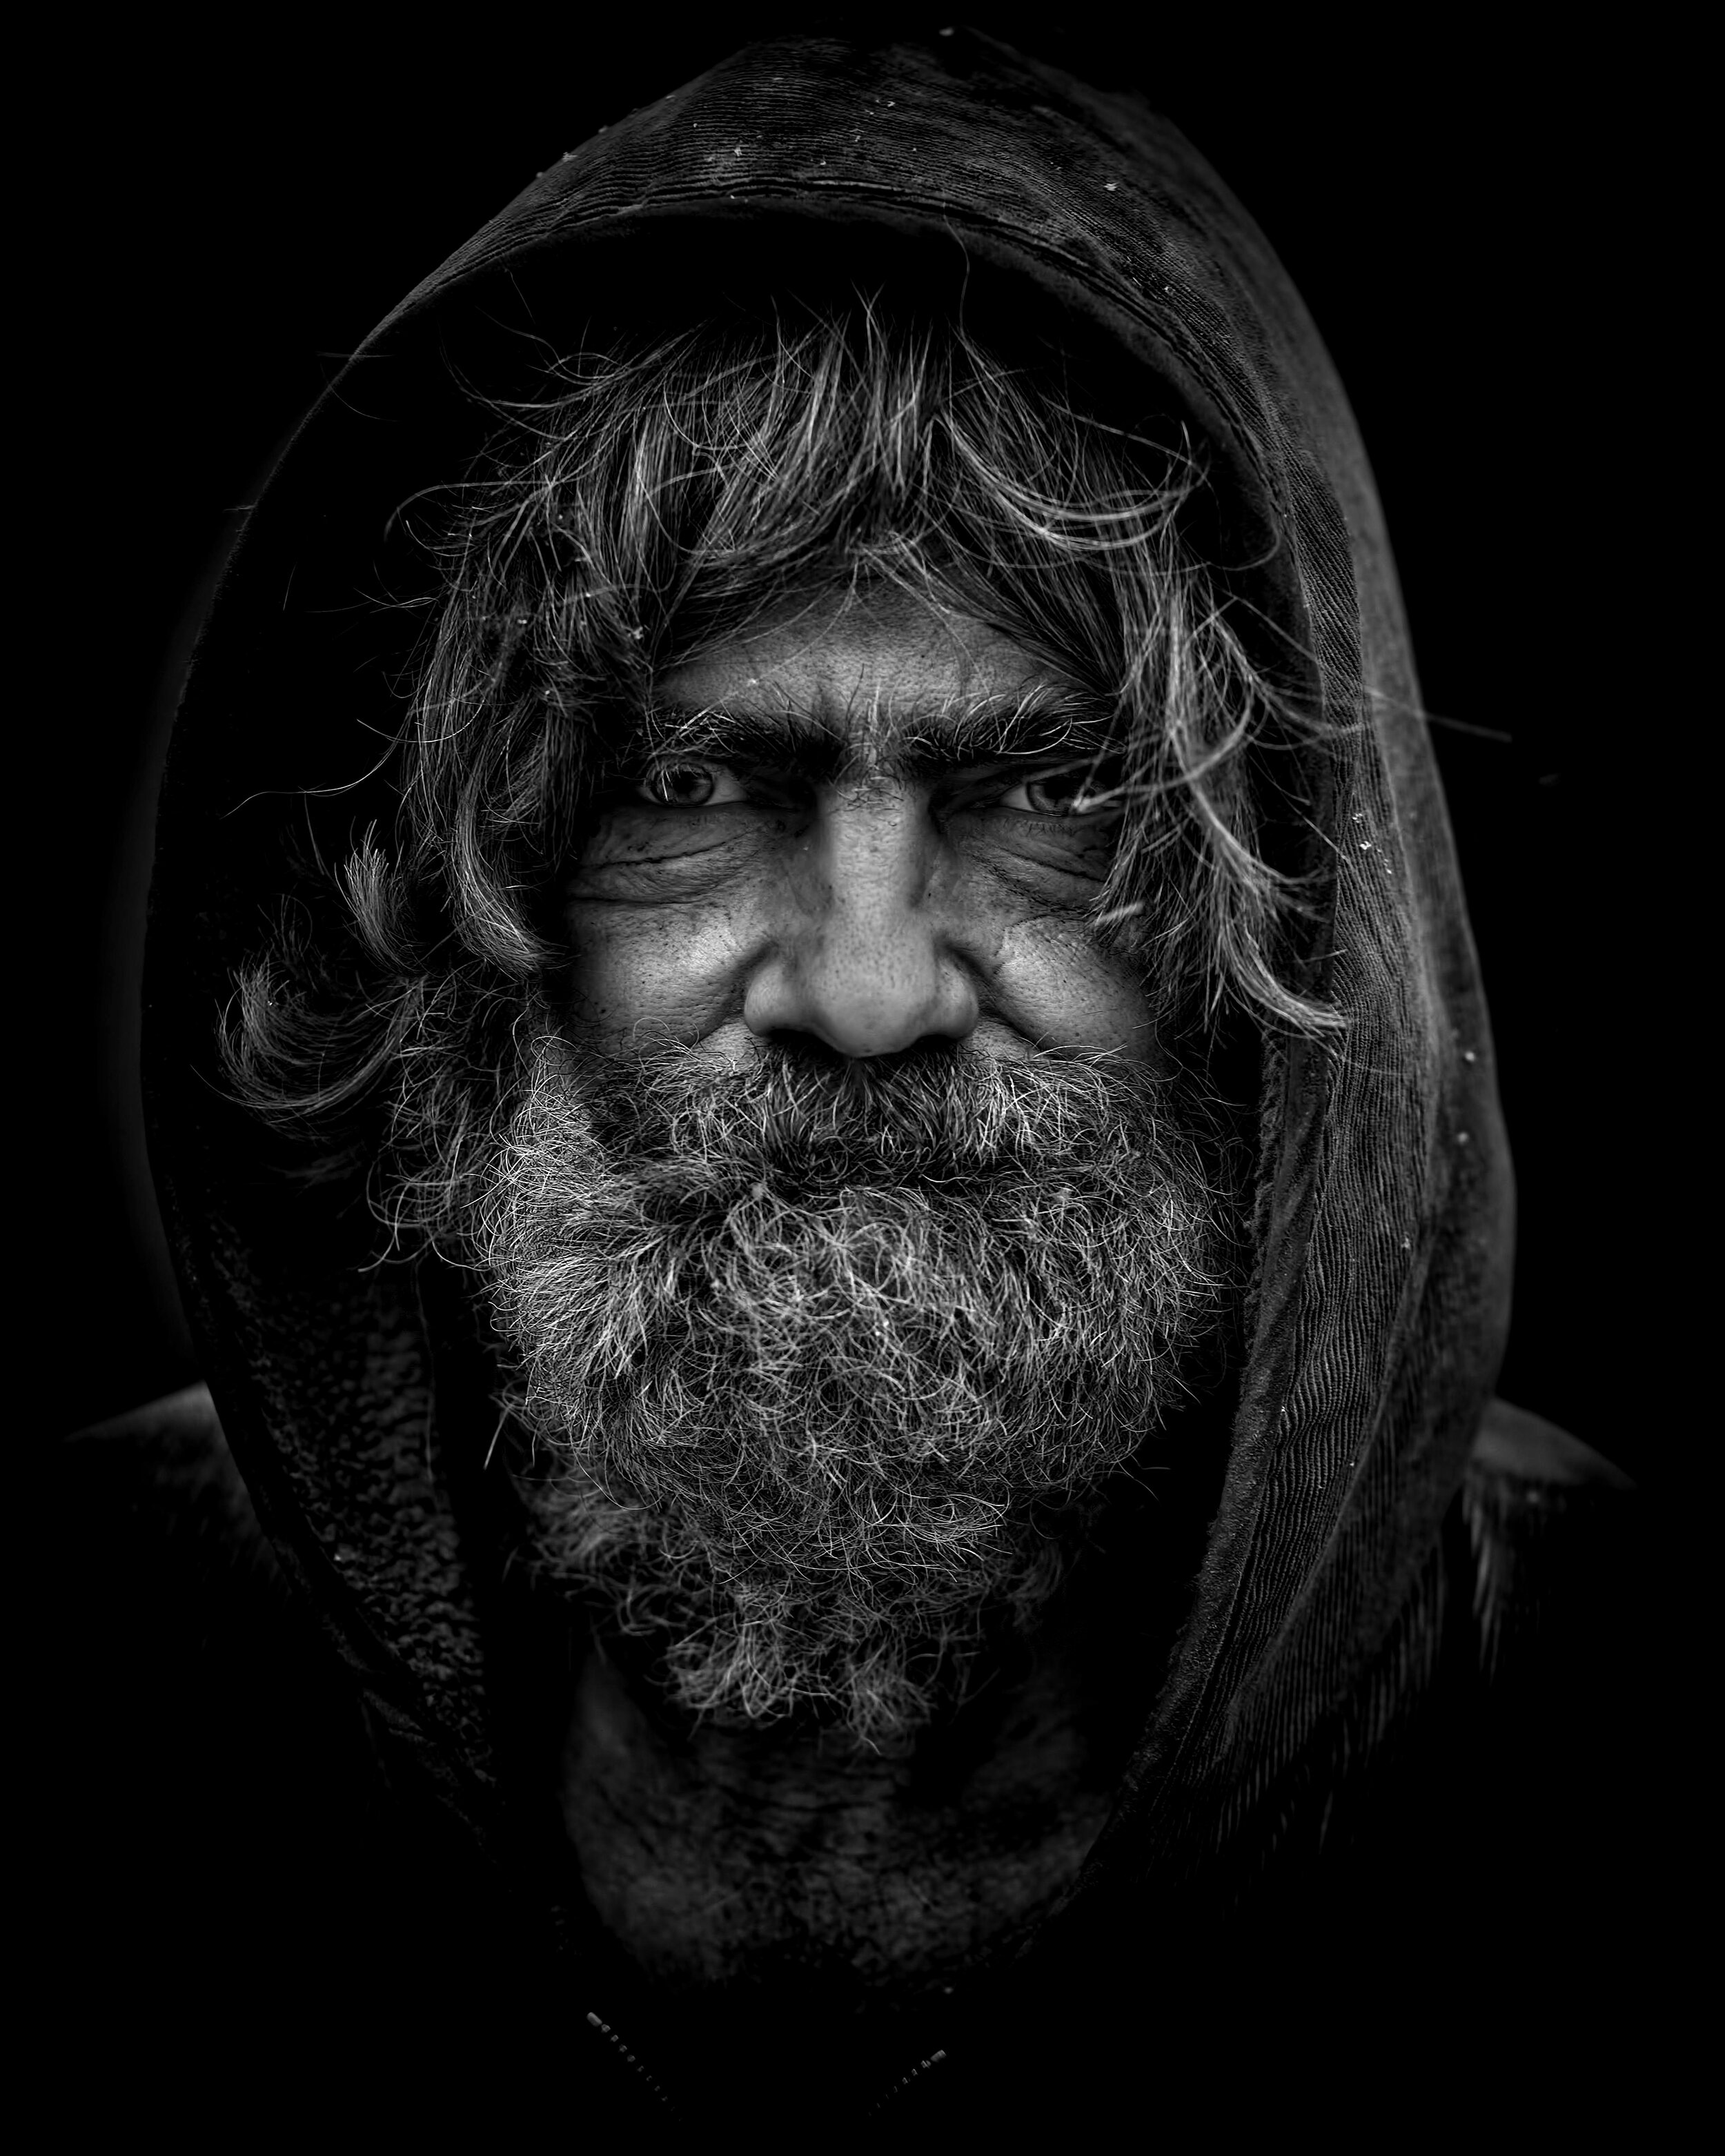
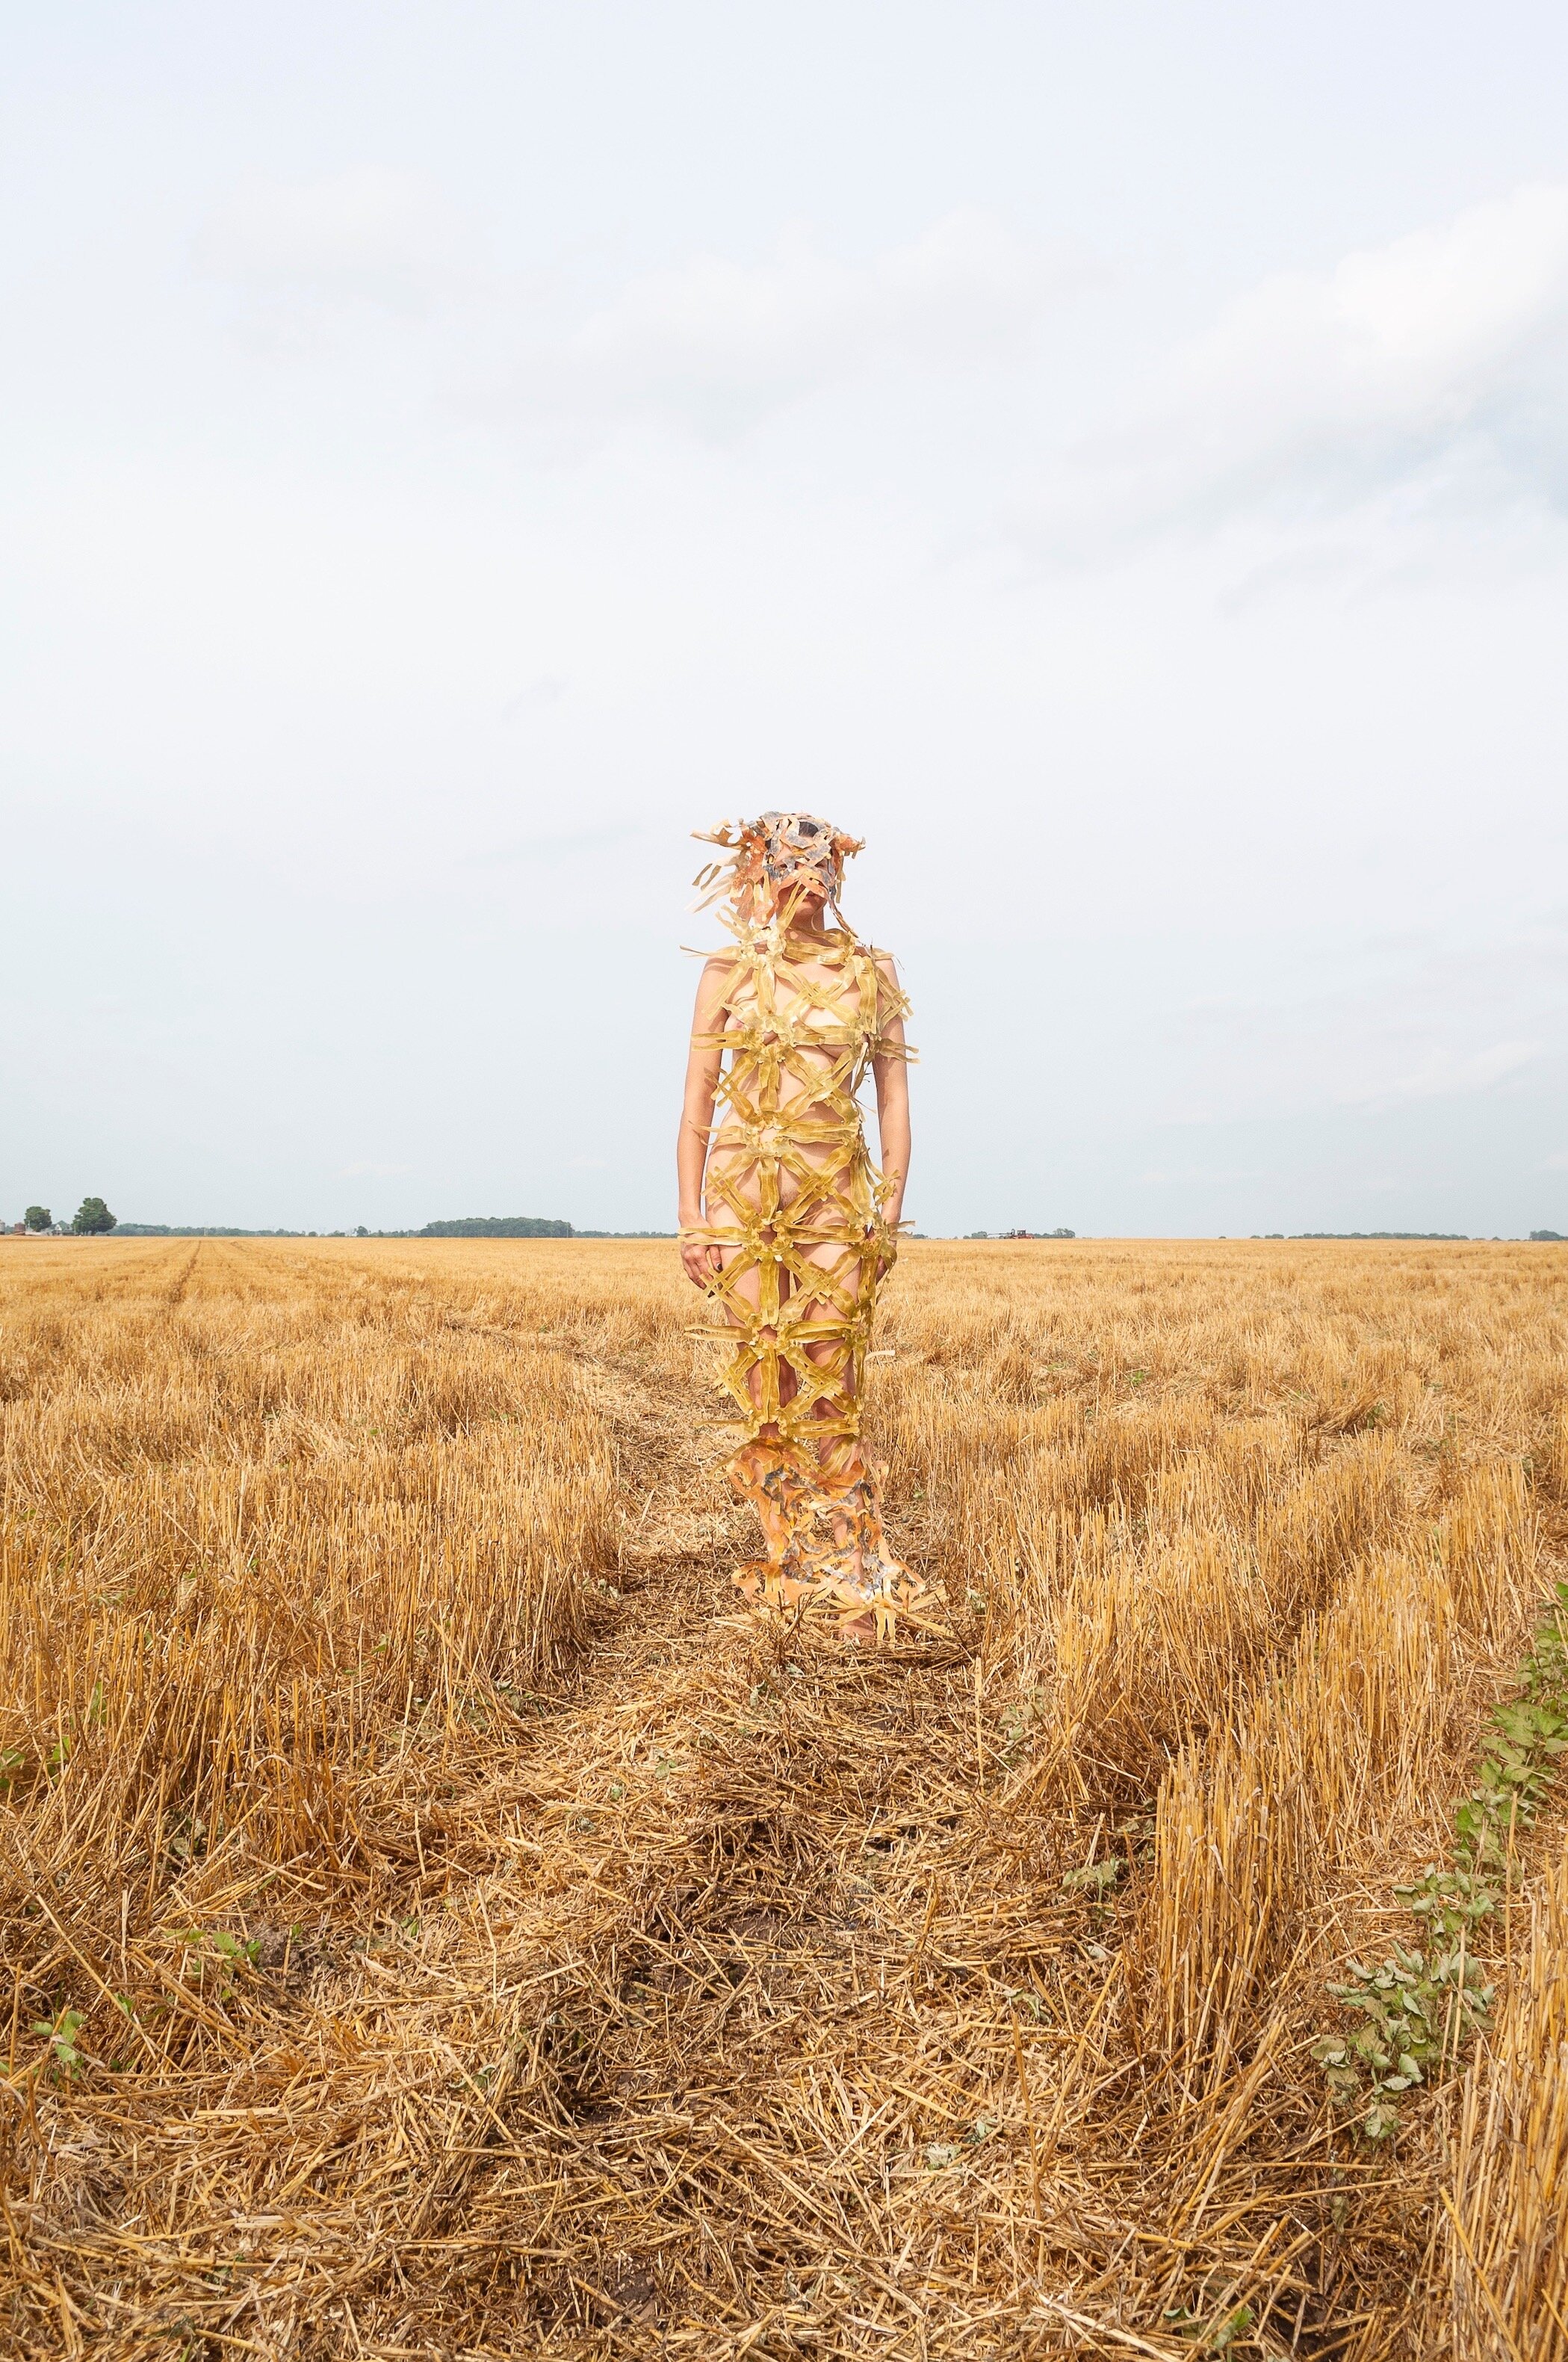
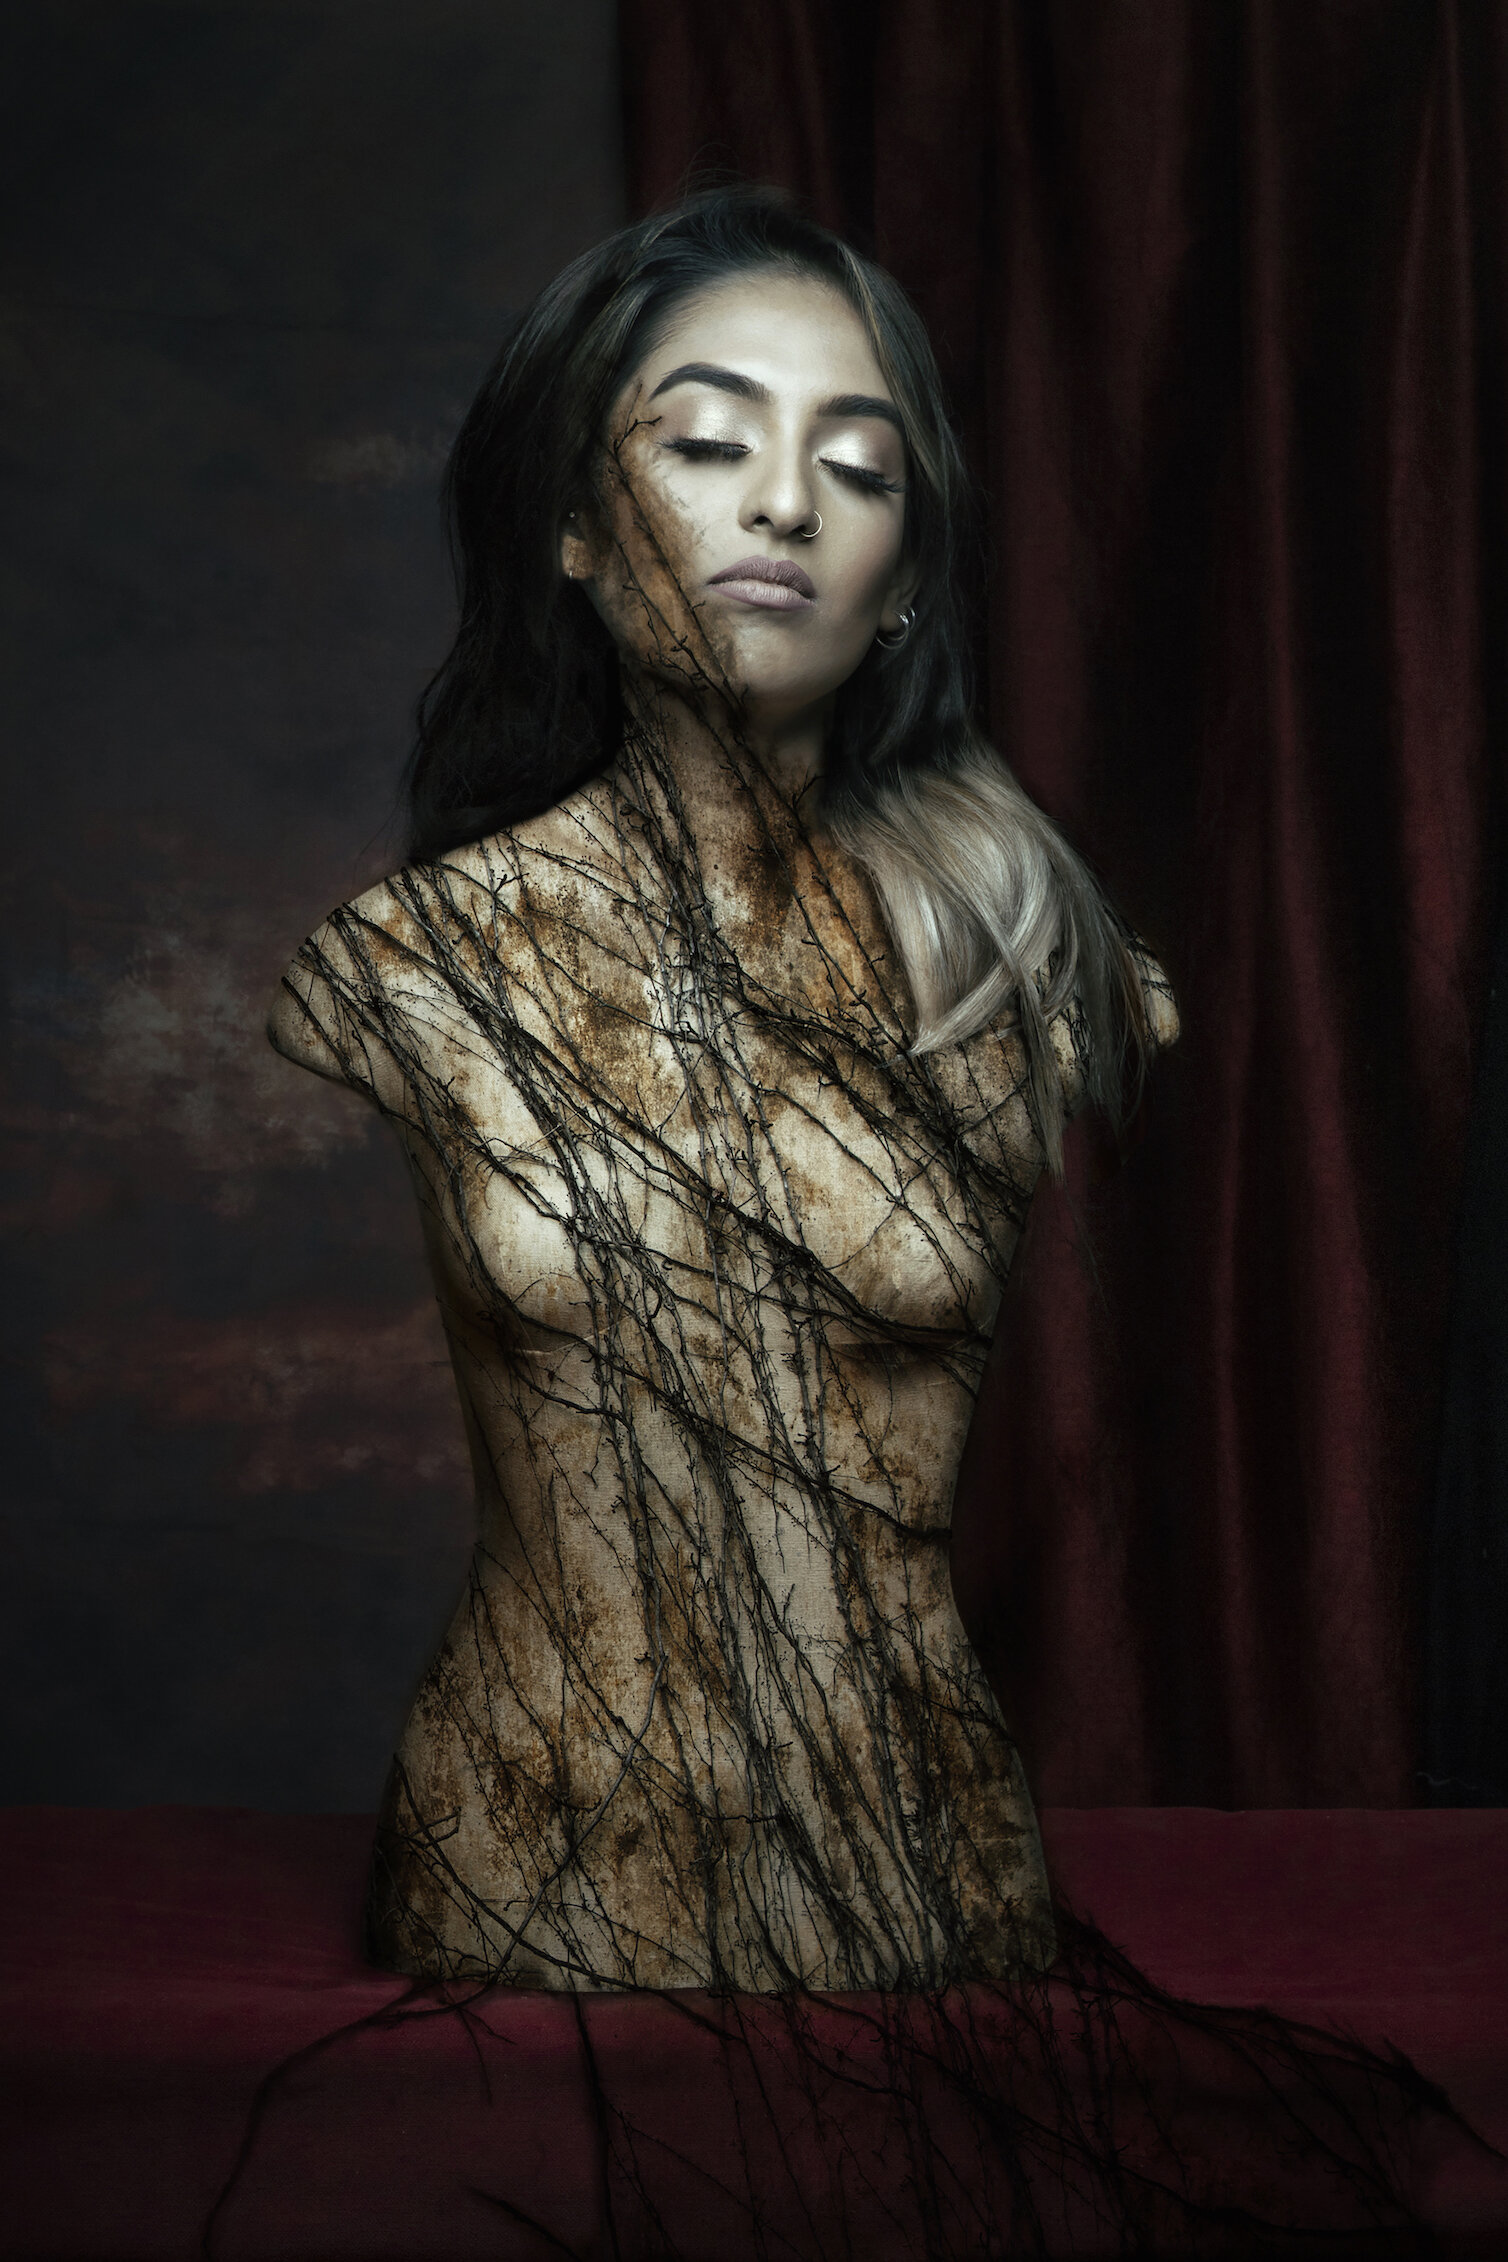
The right background is an essential element when capturing professional and stunning photos. To decide on your background, you should first consider the effect that you are trying to achieve in the end result. That is to say, if you want to produce a dramatic effect, you could opt for a dark background and when using cost-effective, easily accessible materials at home, you can use a dark-coloured wall or dark seamless curtains. However, if your goal is to create a delicate, soft effect, you should incorporate a light background such as pastel colours, white, cream and warmer toned colours. Another key component to consider is the contrast between your subject’s tonality and the colour of your background. By implementing contrast between the subject and the background, you can draw more attention to the focal point of your photo ie. the subject. Therefore, you can use a light background to compliment a dark-toned subject and use a dark background to do the same for a light-toned subject. Equally, to bring more depth to the photo and to avoid creating shadows on the backdrop, the subject should be approximately 4 or 5 feet in front of it and also 4 or 5 feet away from the camera.
PROPER LIGHTING IS EVERYTHING
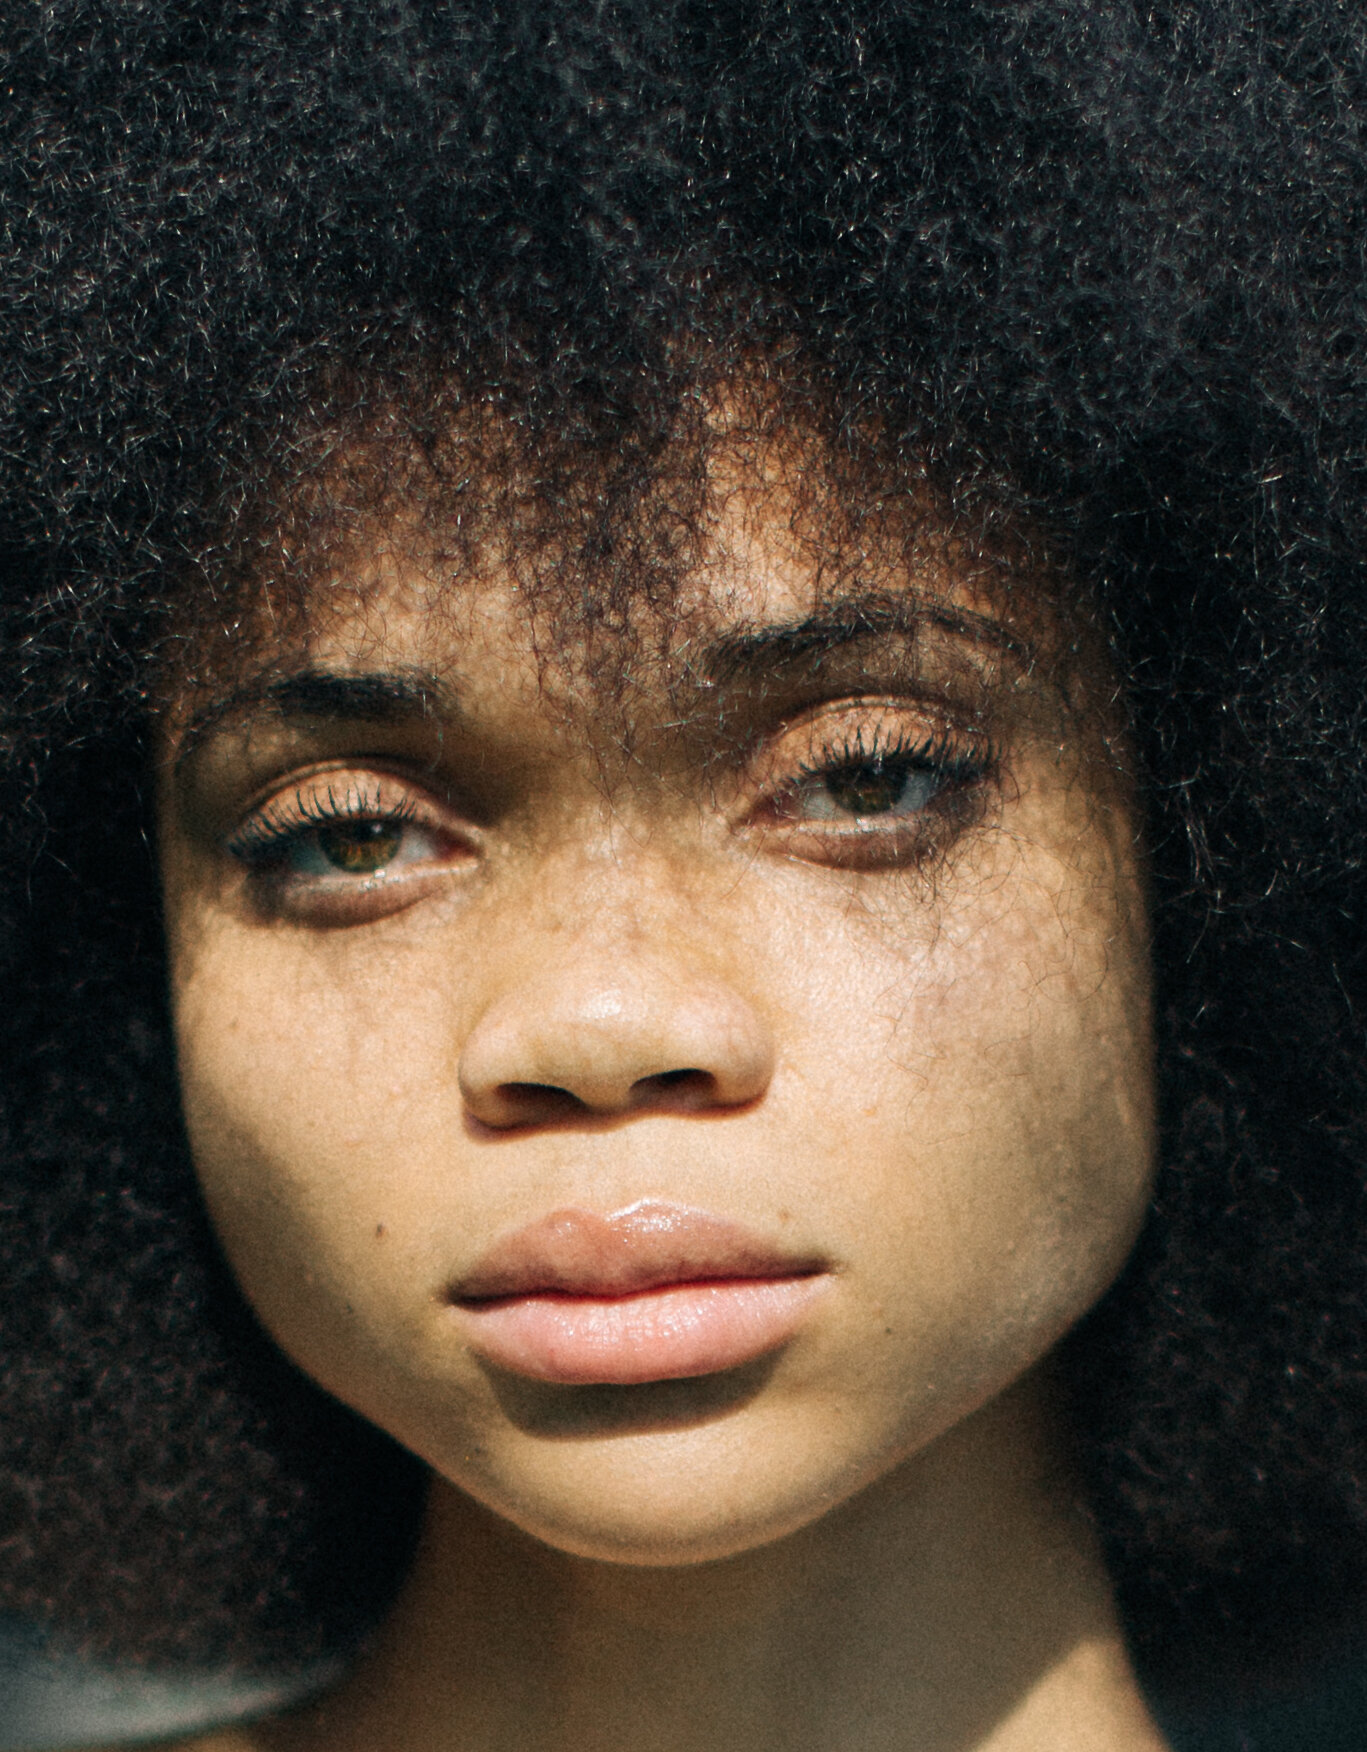
There are two types of light that you can use, namely, natural lighting and artificial lighting. With natural lighting, you can make use of windows in your room and position and manipulate them, in the same manner, you would with artificial lighting. However, the main drawback with this type of lighting is that you cannot control the luminous intensity as it is dependent on natural elements and the weather. This is a driving factor for why many photographers are drawn to artificial lighting because its luminous intensity is fixed and more stable. You would often use two artificial lights and preferably those with a soft intensity. In your dual light setup, you can place one behind the camera ie. further away from the subject. This light works as a fill light which helps to create a contrast between the background and the subject and to lighten shadows. The other light which functions as my main light source is positioned at the side (approximately 30-35 degrees away from the fill light). Notably, the fill light should be half the strength or intensity of the main light in order to shape the subject’s face properly and to prevent washing out the shadows created by the main light so that the image’s depth will not be lost.
Once you find the optimum position for both lights, you can mark them on the ground with tape. The position of the camera and subject can also be identified and clearly labeled so that you know the exact setup for future sessions to save some time. Testing lighting can be a lengthy process at times. Henceforth, to ensure that your subject does not become impatient, you can use a mannequin to see beforehand how the light will reflect on the subject.
LET’S TALK ABOUT LENSES
The lens you choose to shoot with is just as crucial as the background and lighting you select. Lenses have different focal lengths which cater to the many different types of photography. Typically, the focal length of a portrait lens ranges between 85mm and 135mm. If the focal length is lower than 85 mm, depending on your proximity to the subject, you can unintentionally enlarge certain facial features of the subject such as the nose, causing the ‘dog nose effect’. Meanwhile, if you use a lens with a focal length above 135mm, you can produce the “compression effect” in which the image looks too tight and unnatural.
Now that you’ve found the perfect background, lighting and camera lens for your studio, it’s time to capture those breathtaking portraits that will have your viewers mesmerized!