A Beginner’s Guide to Sculpting In Clay
Sculpting is a form of art that has been around for centuries. It allows artists to create three-dimensional pieces using various materials. Clay is often used because it is easy to work with and can be molded into a variety of shapes. If you are new to the art of sculpting, here is a guide on how to get started.
Tip 1: Know your clay
There are different types of clay so you want to choose the one that best suits your needs.
Oil-based clay - soft and malleable clay yet it can be undefined and hard to detail
Polymer clay - soft, can be fired in a home oven but cracks easily and is a little tougher than oil-based clay
Pottery/ Firing clay - is a water-based clay (ideal for ceramics) that can be fired at high temperatures. Excellent for detailing and hand building.
Tip 2: Test the wetness/ moisture absorbency of the clay
This involves checking to see whether the clay is wet or dry because you want to avoid using dry clay as it’s extremely challenging to work with and create the shape while centering. Equally, you don’t want the clay to be too wet, or else it will be too runny and messy and won’t be able to hold the desired form and the glaze will not adhere to the clay. To test its moisture absorbency or wetness, all you have to do is “pull off a small piece of the clay you intend to use and roll it in your hand until it forms a cylinder, about 1cm in diameter and about 10cm long. Bend the cylinder double. If it bends smoothly, it should be useable; if it cracks, try adding more water.”
Tip 3: Condition the clay
Normally, you need to condition your clay before you start sculpting. Conditioning your clay means that you knead it so that it becomes stickier/ self-adhesive, malleable, and easier to work with. Monmarte, a popular art supplier, suggests that when you’re kneading the clay do so for approximately 5 minutes and ensure that your hands are clean or you can use a clay press. They further explain that “if you’re using a clay press for this step, put your clay through, fold it, and put it through again a few times to get the best results.”

Image courtesy of Pexels
Tip 4: Sketch your final piece before sculpting
It’s important to have an idea of your final piece so that you know what you’re working towards. By sketching it (i.e. putting it down on paper), you relieve your mind of the constant strain of trying to remember the mental image of the final product and you also would now have a point of reference or guide for the duration of your project. This step will help you visualize and understand the developmental stages of your artistic process as well as the proportions, poses, shapes, and materials needed.
Tip 5: Choose the right tools
The great thing is that with sculpting, you have the freedom to do this with a wide assortment of different sculpting tools. The team at Spinning Pots has compiled an awesome and easy-to-follow list of the numerous sculpting tools and their usages (shown below) so you can achieve your desired effect.
Loop tools - These are mostly used for cutting off large coils from the fresh clay block. There are varied sizes of loop tools available. So, depending on your clay piece, you must choose the size of the loop tool.
Loop cutters - Cutter in the shape of a loop helps in cutting off the clay and adding details to the sculpture.
Mini-wire brush - This small brush made of tiny hardwires is used for rubbing onto the clay surface to smoothen it.
Rubber-tipped tools - These kinds of tools are used for blending the edges or sections of the clay. It also helps in adding paint to the sculpture.
Fine loop - To add wrinkle-like detailing to your clay, this little tool is quite efficient.
Twisted wire rake - This loop tool made of two twisted wires helps in blending the bumps and lumps present on the clay surface.
Guitar loop - Having similarities in looks like that of the twisted wire rake, this tool is made of an old guitar string and adds fine detailing on the sculpture.
Wire-tipped tool - A wire-tipped tool helps in adding wrinkles on the clay surface while sculpting.
Brushes - Brushes are used for various purposes in sculpting. From smoothening the wrinkled surface to adding liquids to the clay, brushes are important for everything.
Knives - Knives are essential for carving while adding fine and intricate details to the clay.
Scraper - Scrapers are good for scrapping out the excessive amount of clay from the surface of the pottery work.
Ribbon tools - These tools work magically in cutting or shaping the clay from the surface to create intricate or smooth designs. Also, it helps in removing the excess clay
Tip 6: Break down the sculpting process into form, anatomy, detail
To make the process less intimidating, break it down into steps. Step 1 is building the form. Remember that it’s perfectly normal if the form does not resemble the final product at first. Just focus on its structure and strength first. Next, you want to focus on the anatomy (ex. head, arms, legs, joints etc.) which define whatever it is you’re sculpting. In this stage, you should start to see more resemblance to your final piece. The final step is to focus on the details that bring your piece to life and make it more realistic. You want to think about how you would make the details read in clay so that it will look accurate and identifiable.
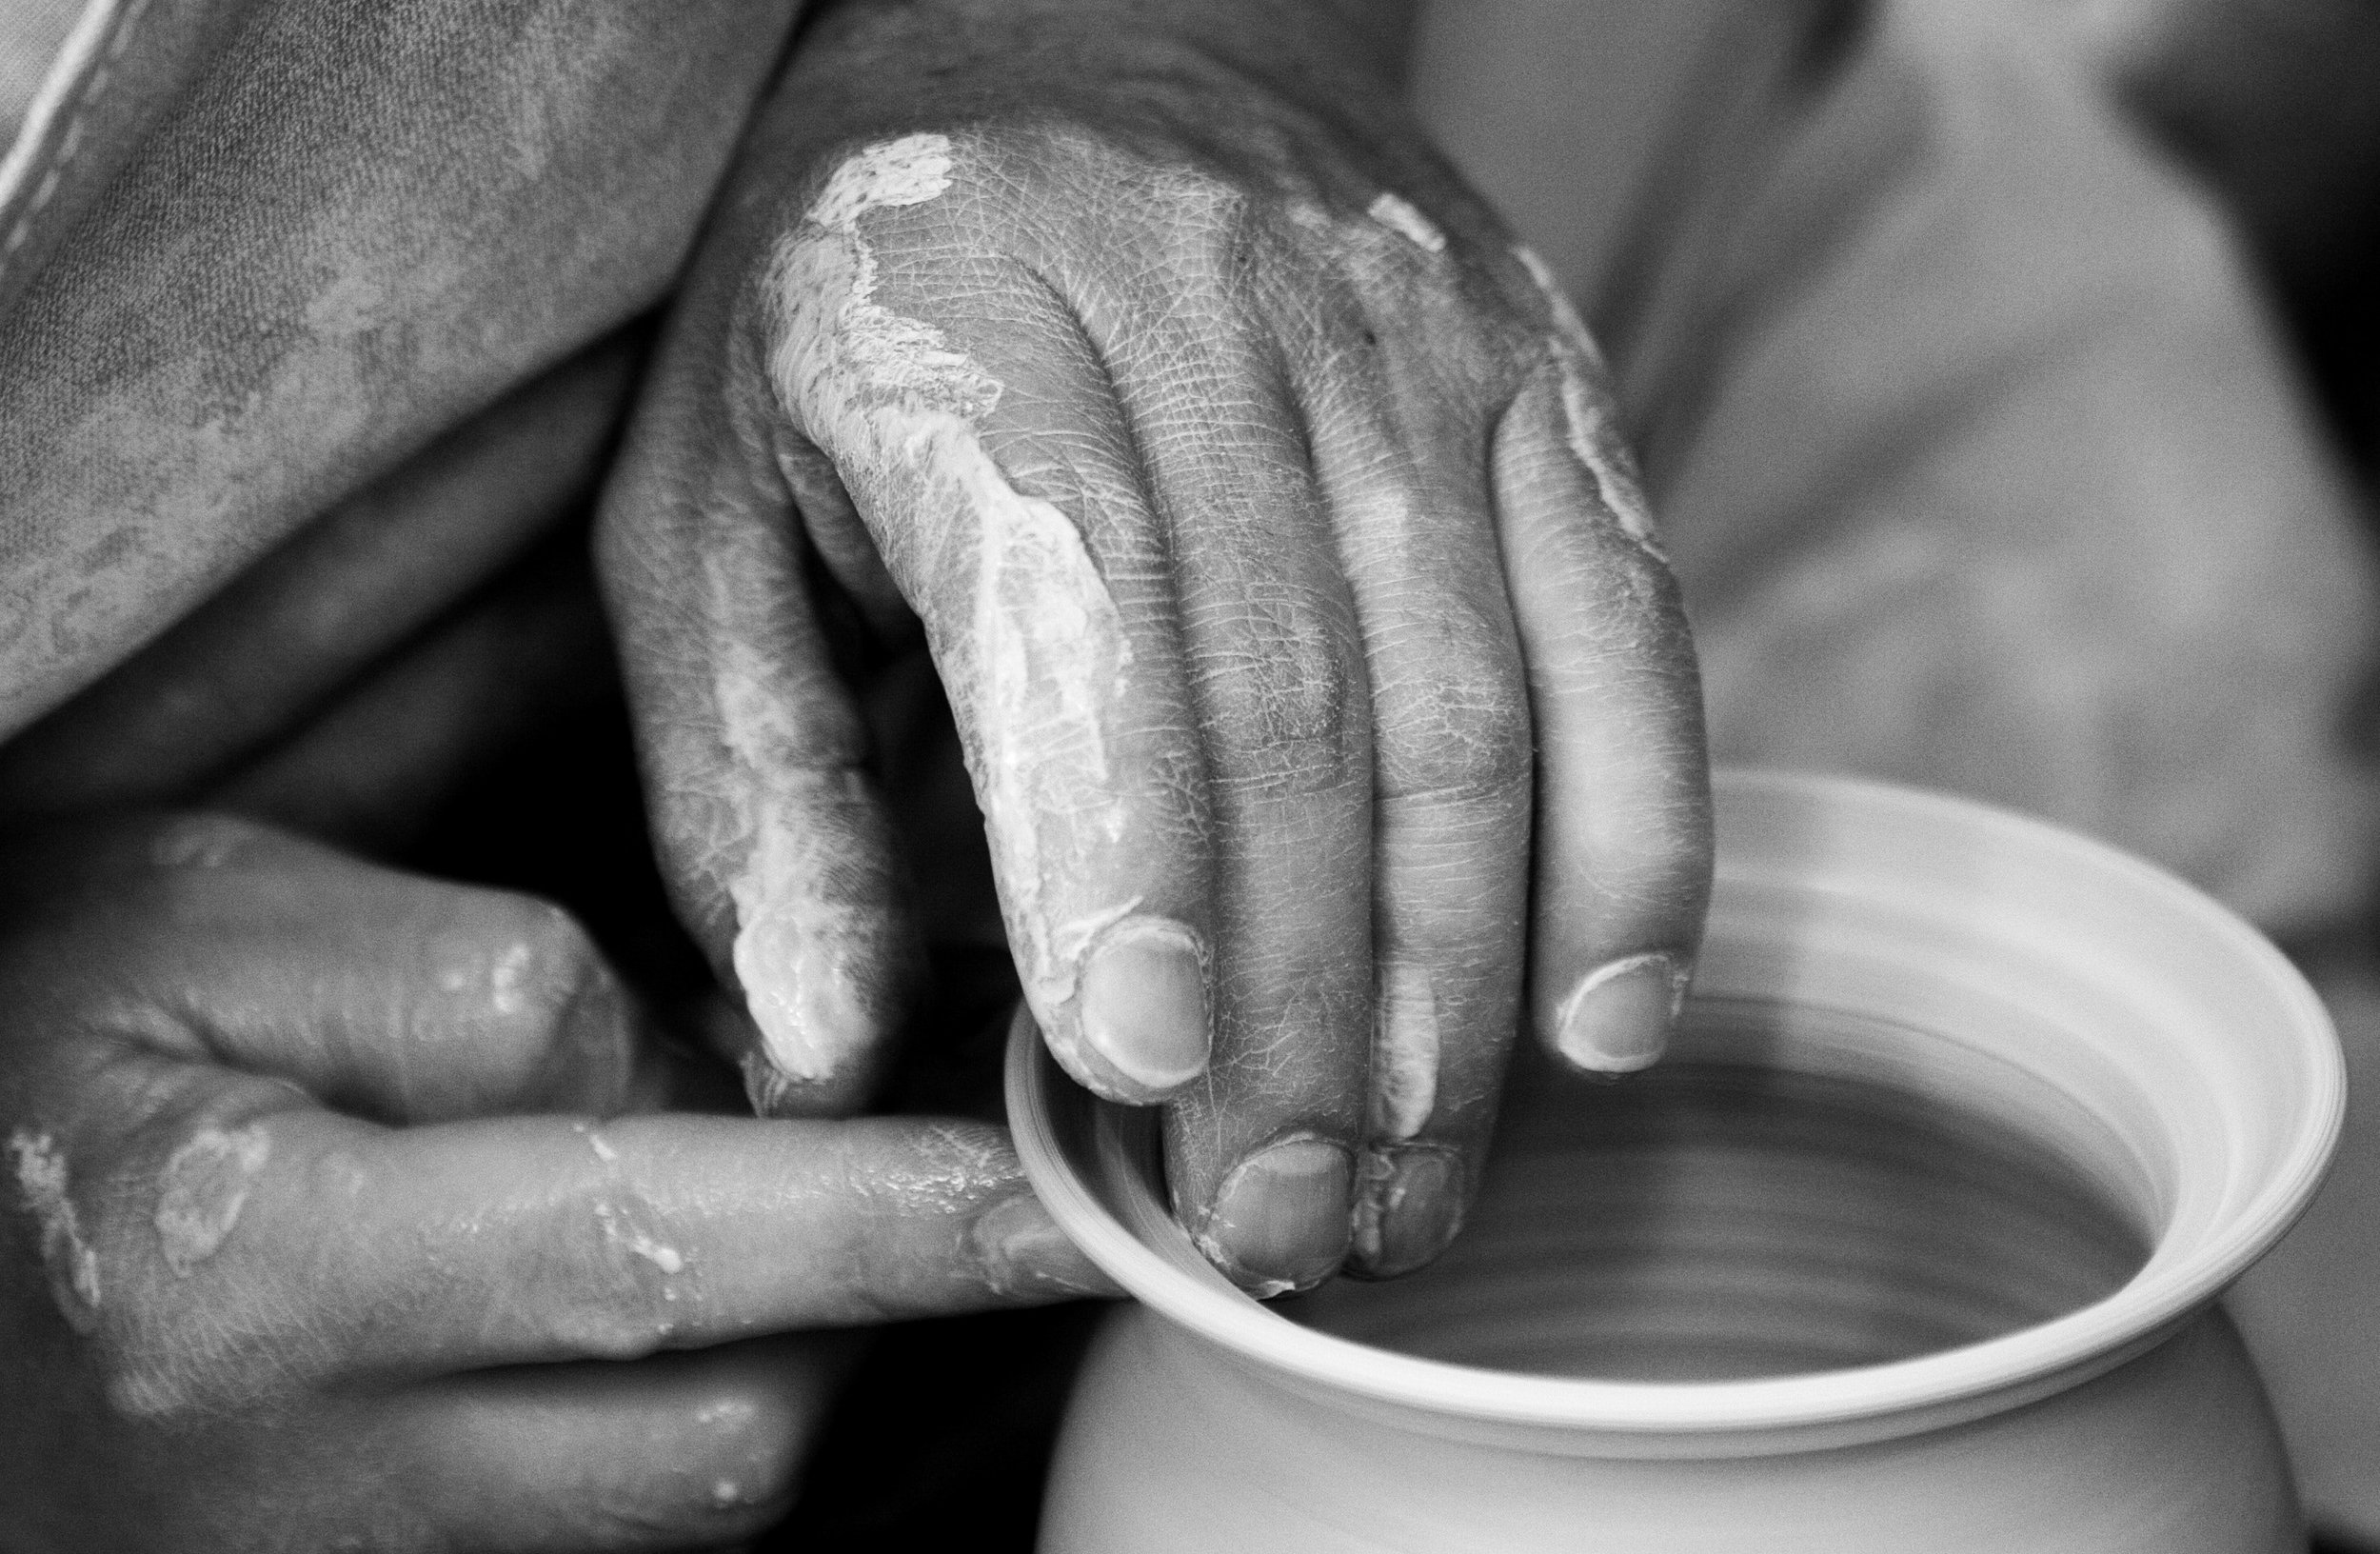
Image courtesy of Pexels
Tip 7: Clay joining
As the name suggests, clay joining is the process of joining/ attaching two pieces of clay together. You want to score the clay first which means using a knife or another tool to create surface-level scratches/ hatch marks on the clay. Next, you brush the slurry or water to join the clay. This process is often called “score and slip”.
Tip 8: Ensuring that your clay is workable
Air-dry clay and water-based clay such as pottery/firing clay have a tendency to dry out easily, become brittle, prone to cracking, and hard to work with when exposed to the environment for too long. To prevent this, at your workstation you should have a small basin of water and a clean sponge or a spray bottle so you can keep the clay hydrated. Whereas, in cases where the warmth of your hands causes the clay to become soft and too sticky to work with, you can put the clay in the fridge for around 10 minutes.
Tip 9: Storing your clay
Store your clay in an opaque container in a dark, cool area out of direct sunlight because you don’t want the heat to cause your clay to harden before time. You can also store clay in tightly sealed bags so that the moisture levels remain intact.
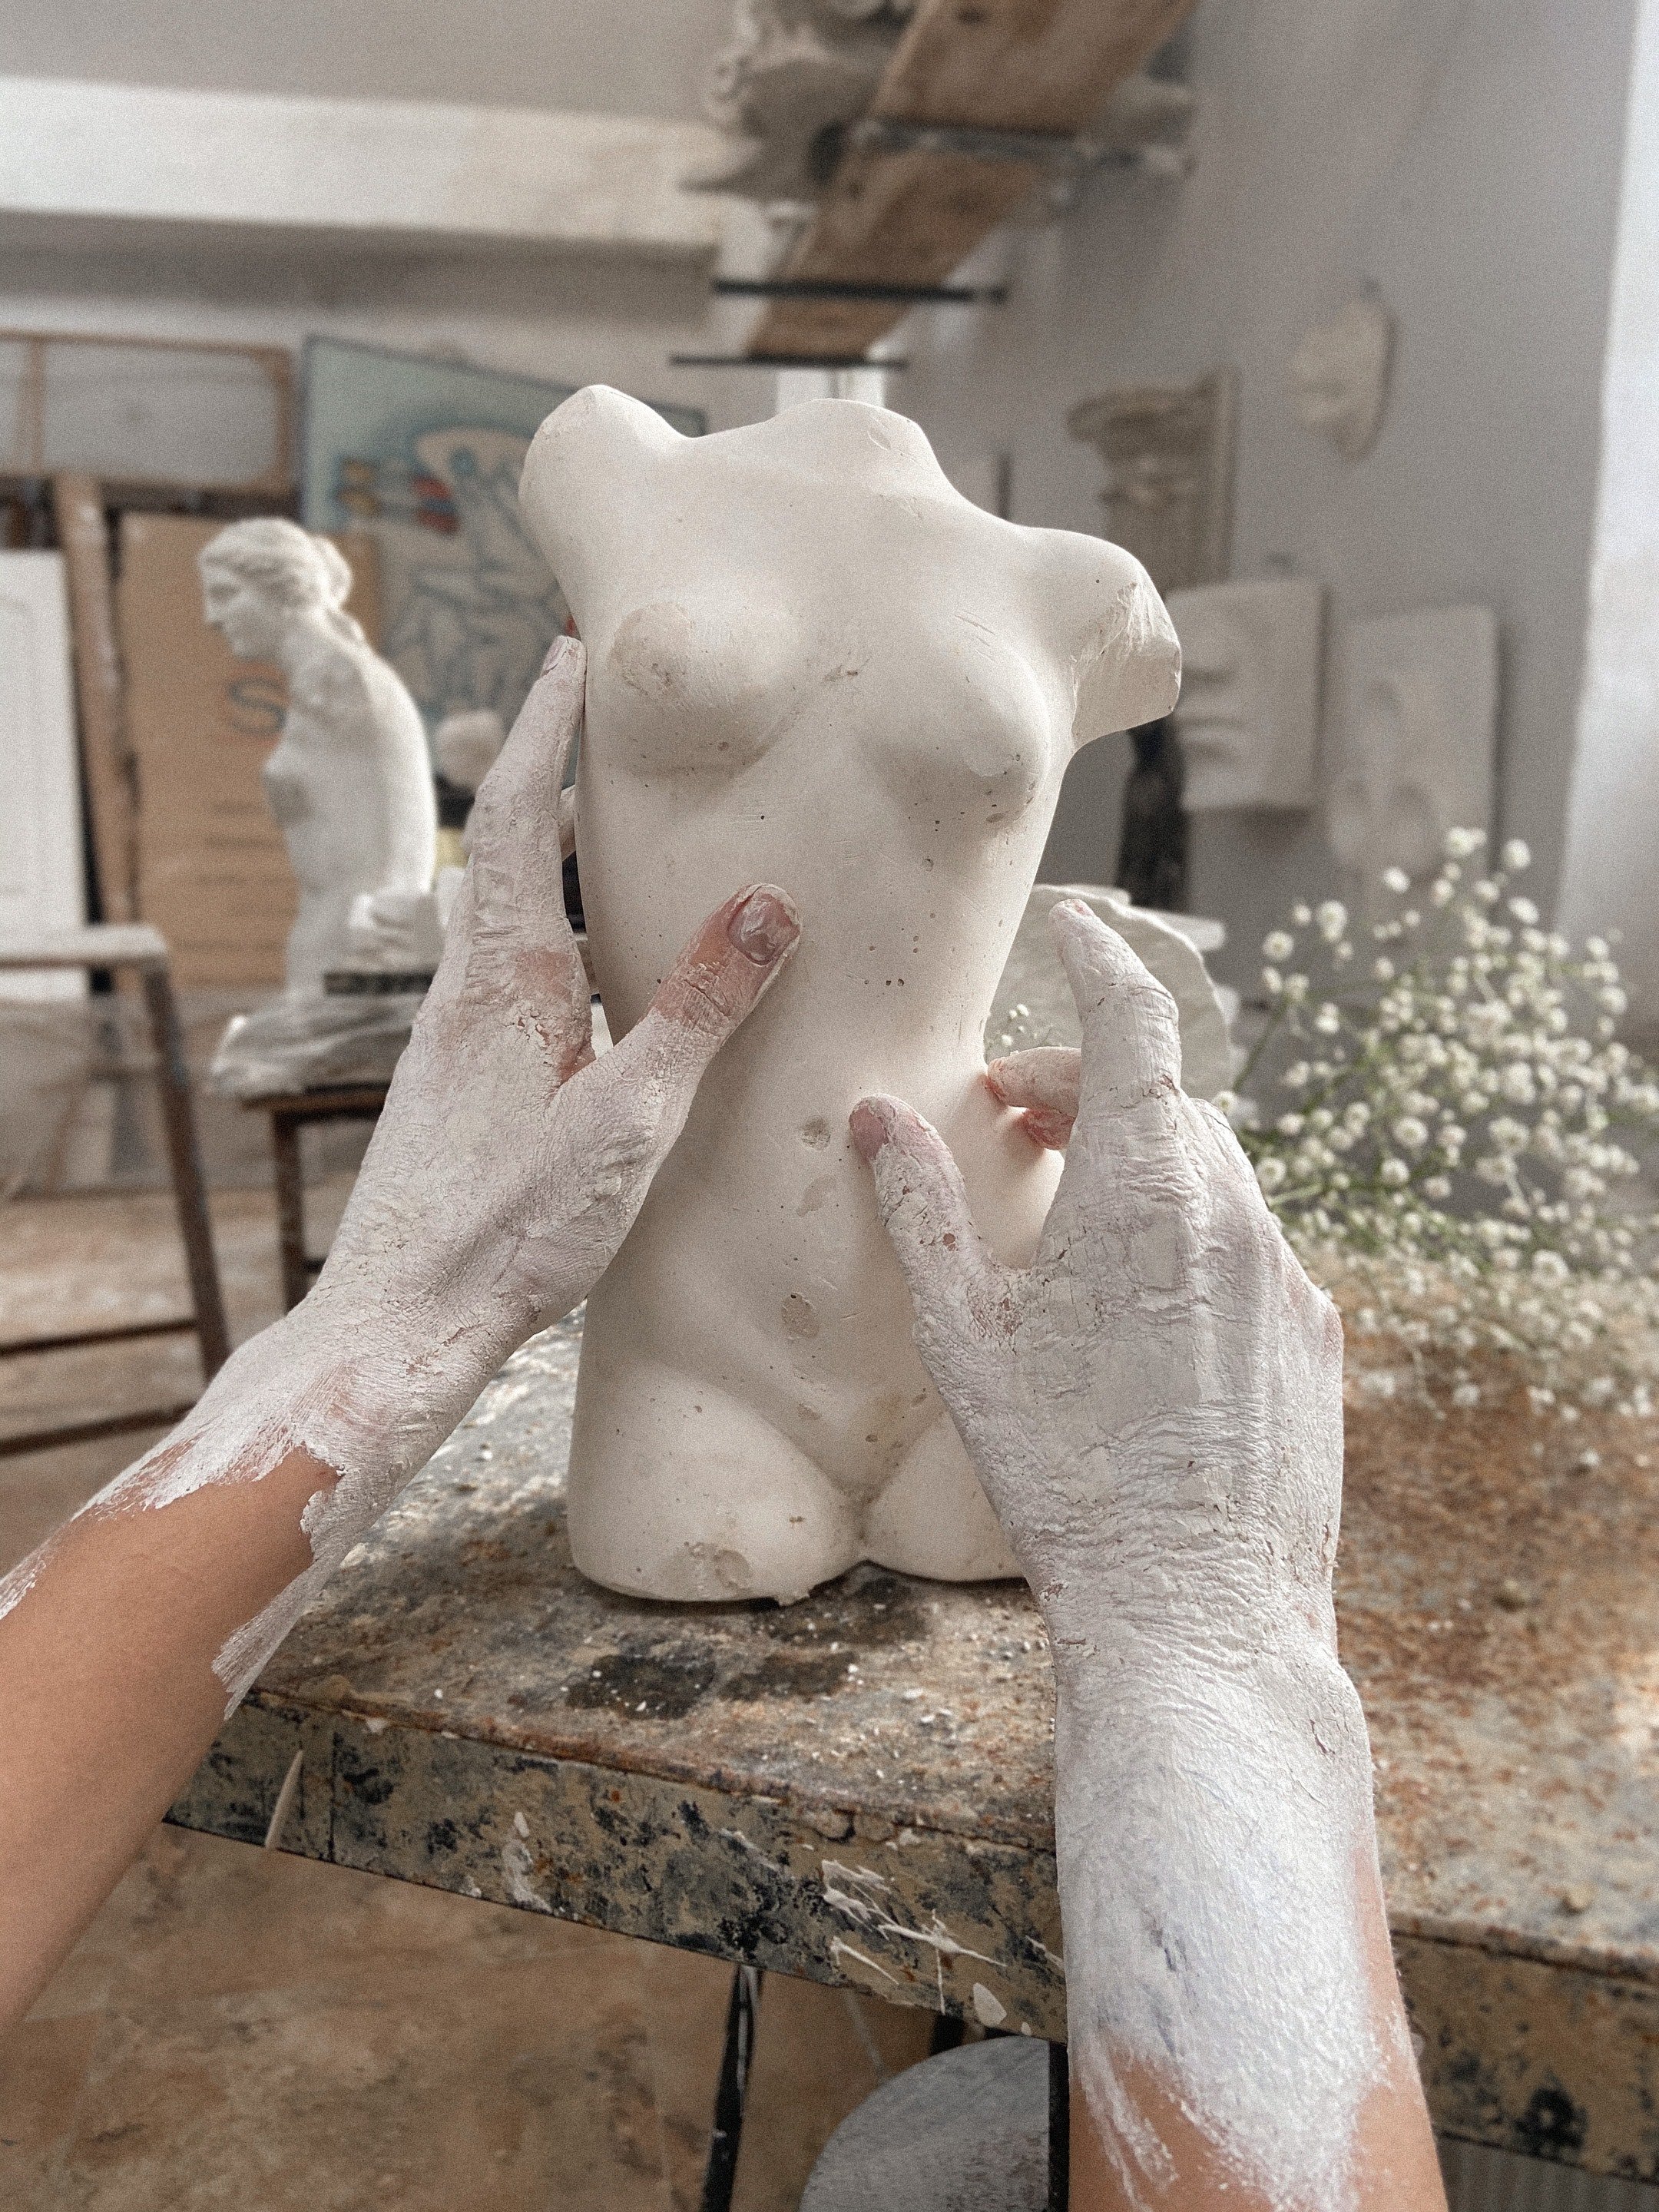
Image courtesy of Pexels
Conclusion
Now that you know more about sculpting in clay, it’s time to get your hands dirty! I hope this guide has helped you on your journey as a beginner in clay sculpting. Happy sculpting.