Sculpting For Beginners : 10 Tips & Tricks
Do you feel like a sculpting newbie? Are you not sure where to begin? Well, I’m glad you found this article because I’m here to help. We'll be going over ten tips and tricks that will help make your process smoother and more enjoyable. With some time, patience and these tips at hand, you’ll be well on your way to creating some impressive, breathtaking, and intricate sculptures. Are you ready? Let’s get into it!
Tip #1: Start with clay
Clay is often the easiest and best material to begin your sculpting journey and the springboard for other sculpting materials such as stone, marble, and wood. There are different types of sculpting clay:
Oil-based clay - soft and malleable clay yet it can be undefined and hard to detail
Polymer clay - soft, can be fired in a home oven but cracks easily and is a little tougher than oil-based clay
Pottery/ Firing clay - water-based clay (ideal for ceramics) that can be fired at high temperatures. Excellent for detailing and hand building.
Tip #2: Test the moisture absorbency or wetness of the clay
This involves checking to see whether the clay is wet or dry because you want to avoid using dry clay as it’s extremely challenging to work with and create the shape while centering. Equally, you don’t want the clay to be too wet or else it will be too runny and messy and won’t be able to hold the desired form and the glaze will not adhere to the clay.
To test its moisture absorbency or wetness, all you have to do is “pull off a small piece of the clay you intend to use and roll it in your hand until it forms a cylinder, about 1cm in diameter and about 10cm long. Bend the cylinder double. If it bends smoothly, it should be useable; if it cracks, try adding more water.”

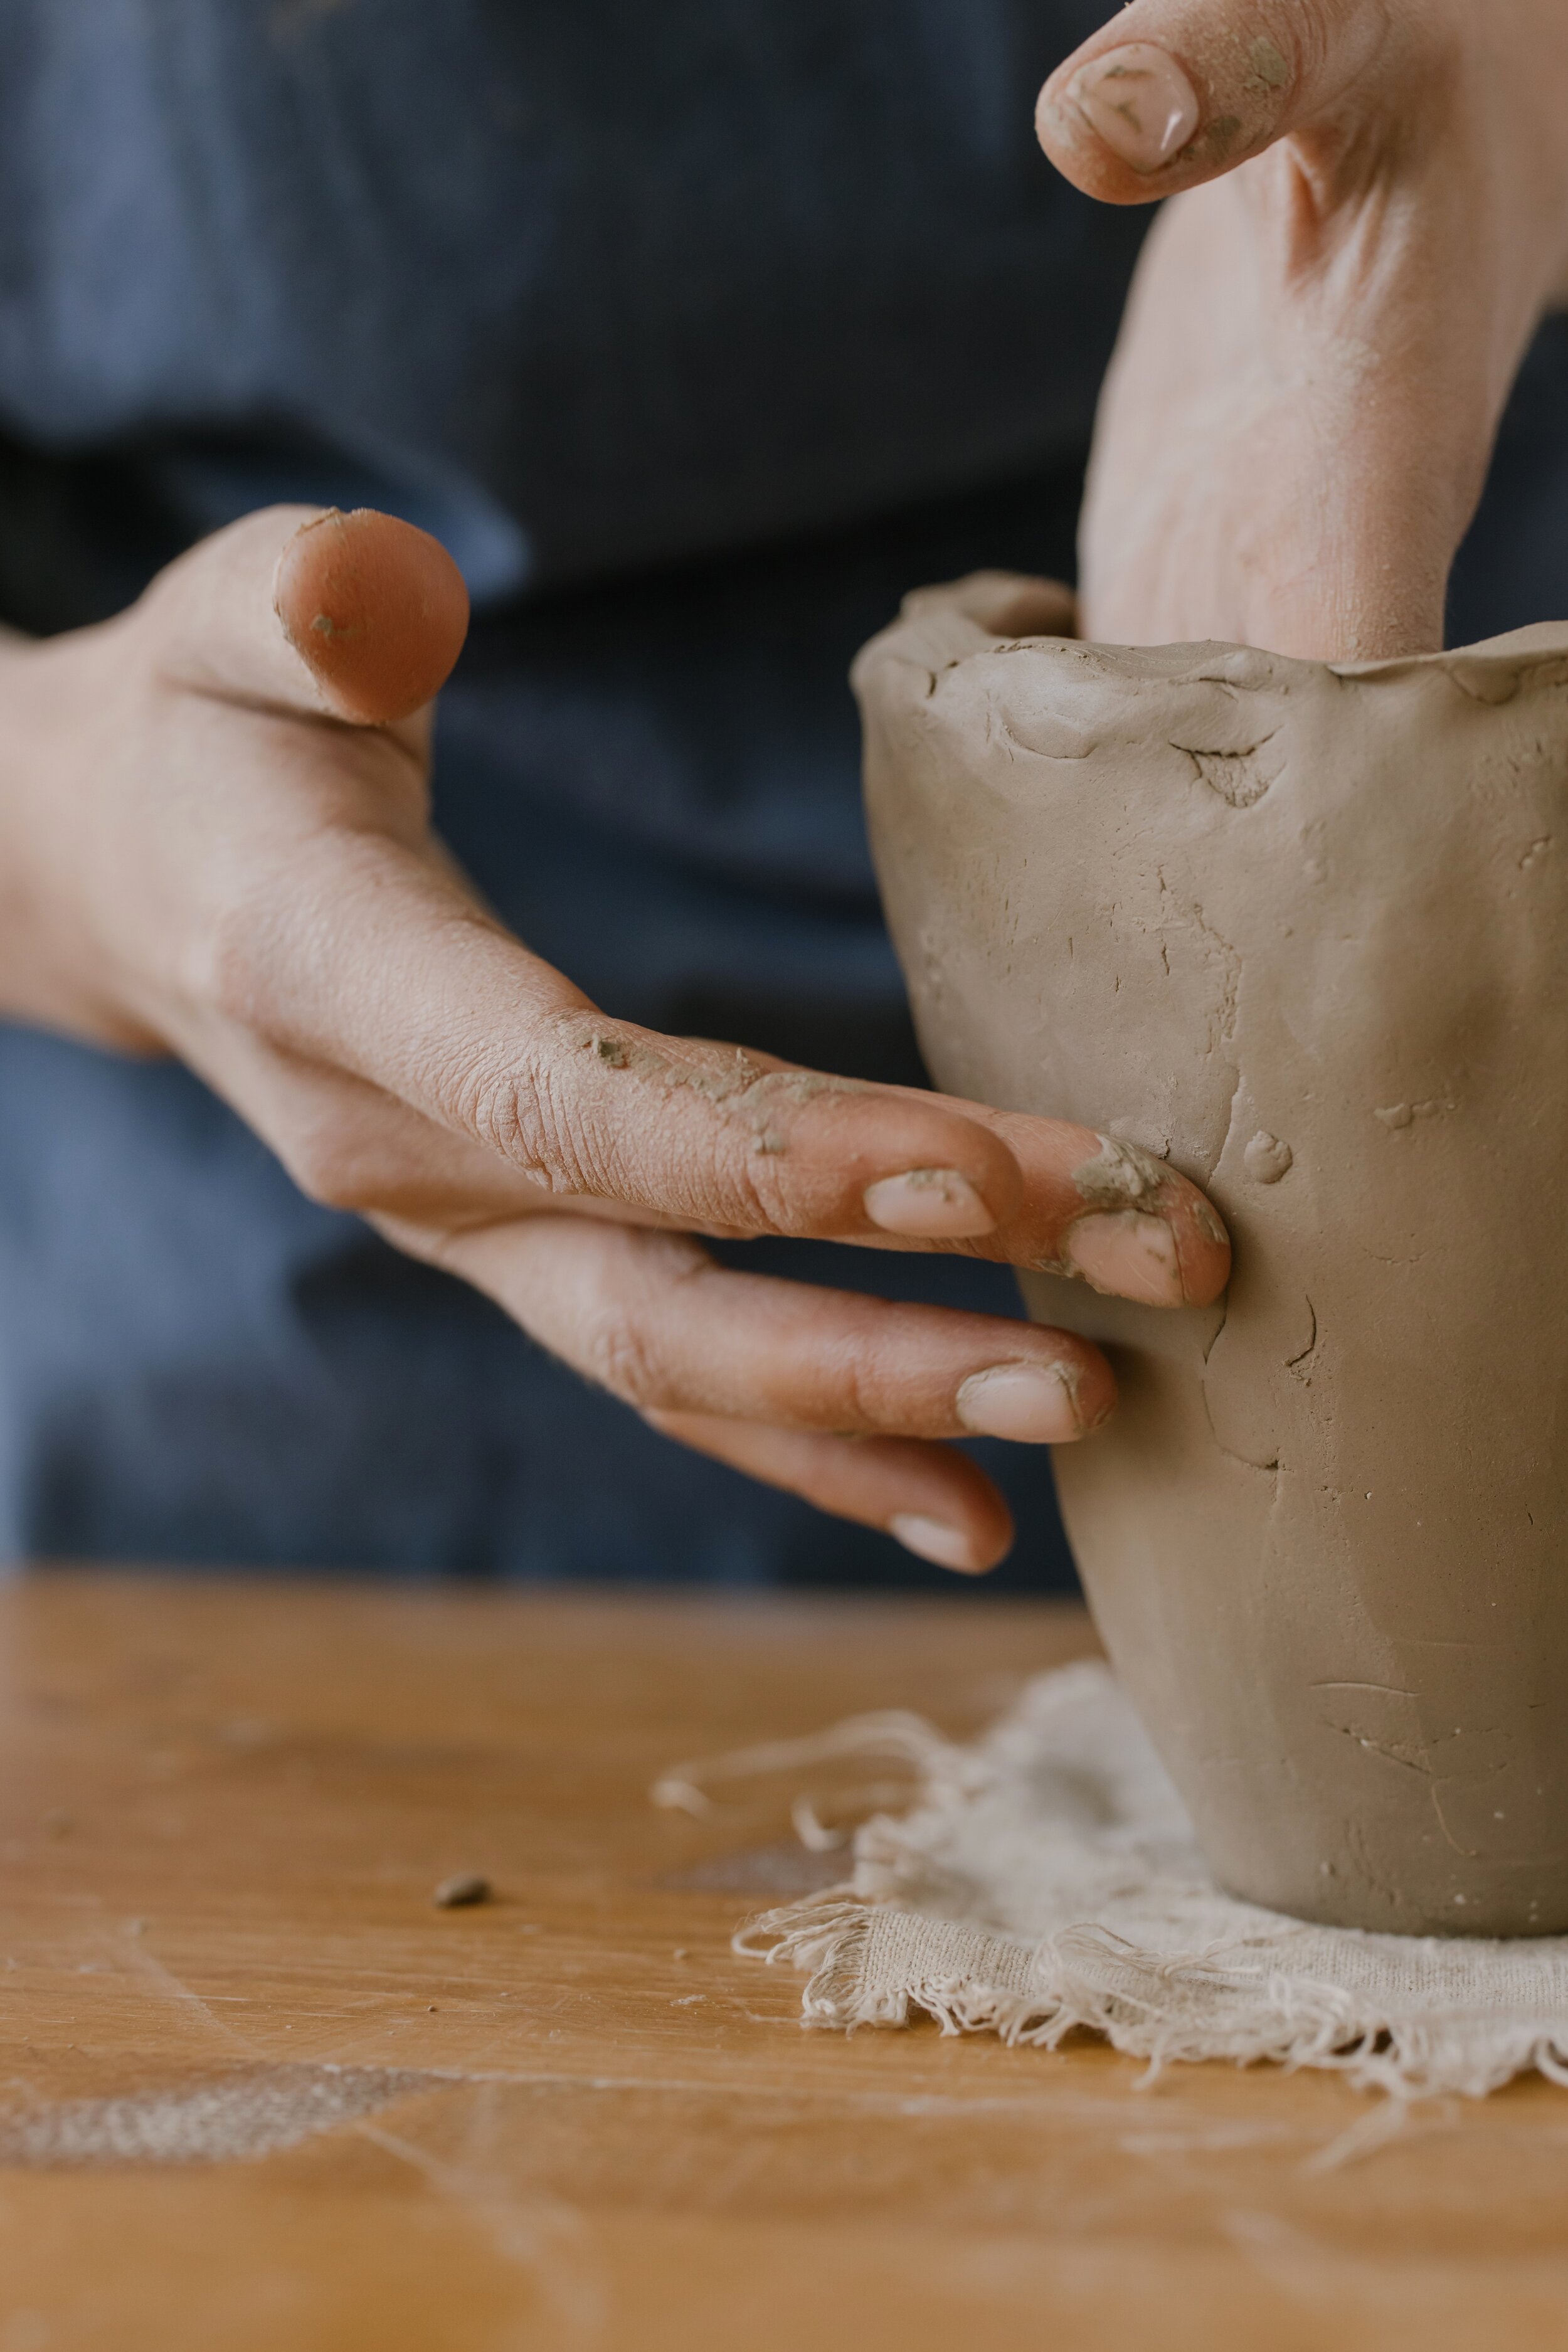
Tip #3: Condition your clay
Normally, you need to condition your clay before you start sculpting. Conditioning your clay means that you knead it so that it becomes stickier/ self-adhesive, malleable, and easier to work with. Monmarte, a popular art supplier, suggests that when you’re kneading the clay do so for approximately 5 minutes and ensure that your hands are clean or you can use a clay press. They further explain that “if you’re using a clay press for this step, put your clay through, fold it, and put it through again a few times to get the best results.”
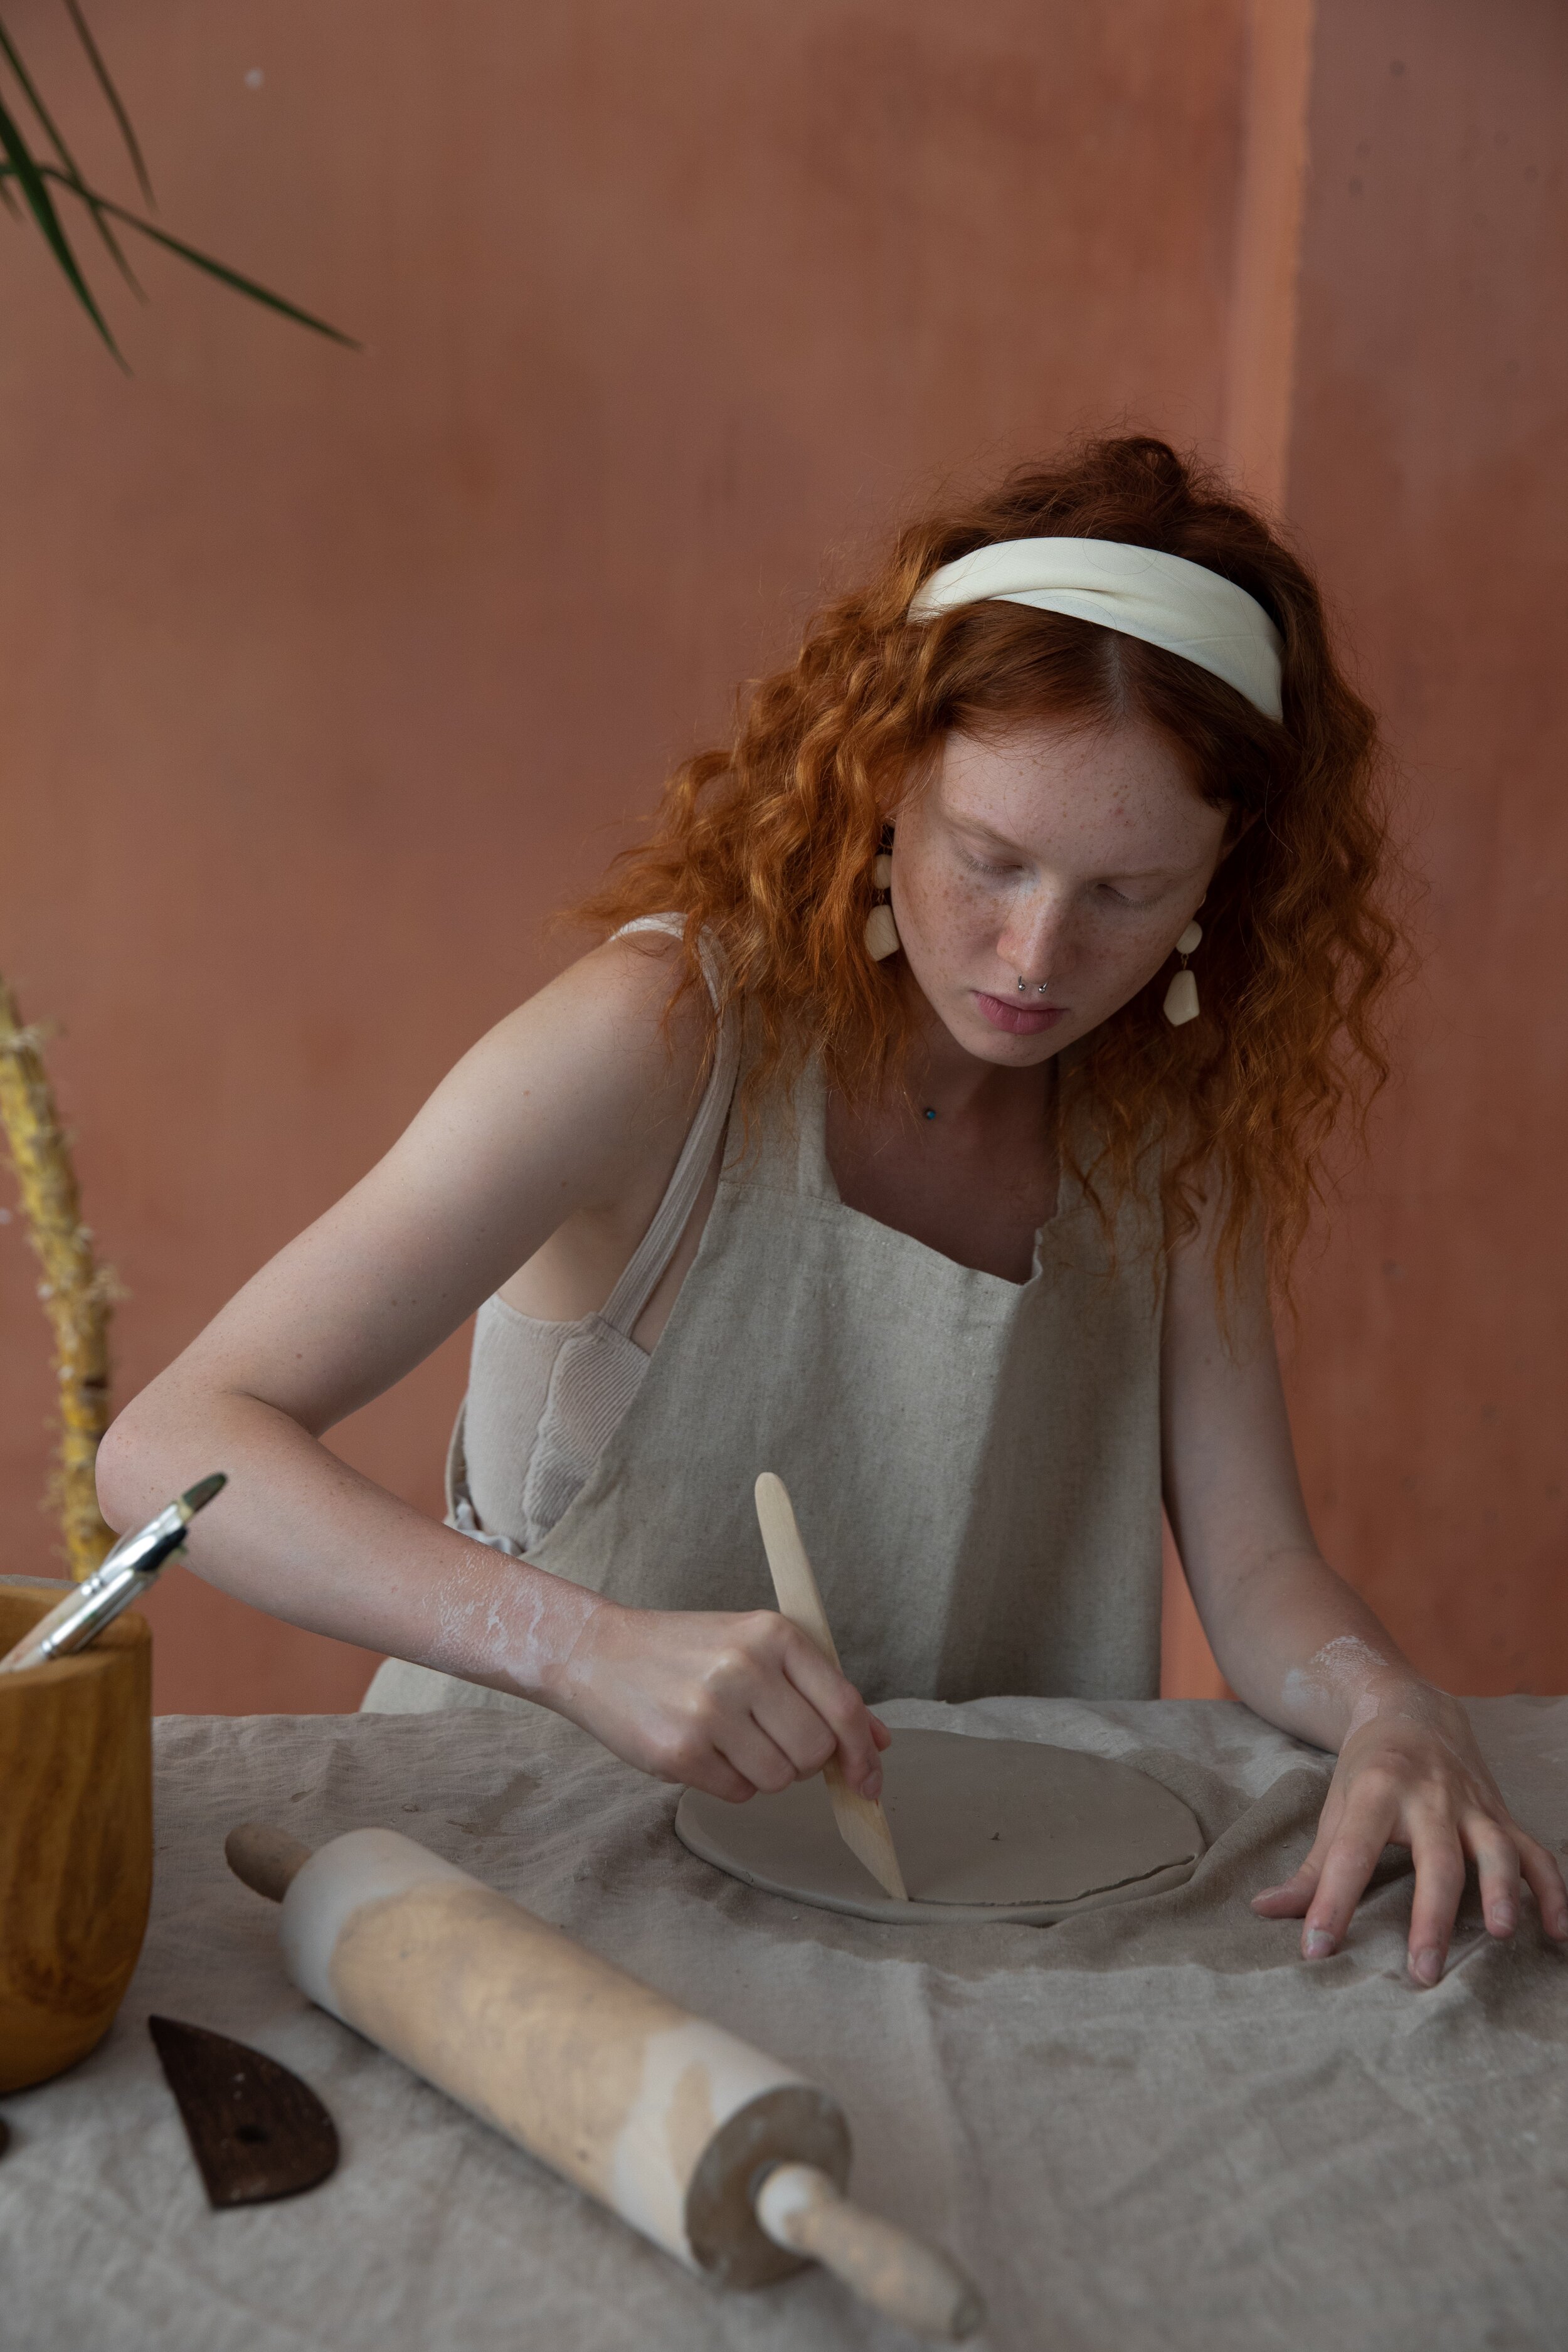
Tip #4: Find your ideal work space
What would be in your ideal work space? Well, I can tell you that you actually may not even need that many things. The essentials for your workspace when sculpting are cleanliness, adequate and good lighting, a comfy chair and a mirror (for examining any details).
Tip #5: Experiment with different tools
One of the best processes that you can do at any point in your journey is experimentation. The great thing is that with sculpting, you have the freedom to do this with a wide assortment of different sculpting tools. The team at Spinning Pots has compiled an awesome and easy-to-follow list of the numerous sculpting tools and their usages (shown below) so you can achieve your desired effect.
Loop tools - These are mostly used for cutting off large coils from the fresh clay block. There are varied sizes of loop tools available. So, depending on your clay piece, you must choose the size of the loop tool.
Loop cutters - Cutter in the shape of a loop helps in cutting off the clay and adding details to the sculpture.
Mini-wire brush - This small brush made of tiny hardwires is used for rubbing onto the clay surface to smoothen it.
Rubber-tipped tools - These kinds of tools are used for blending the edges or sections of the clay. It also helps in adding paint to the sculpture.
Fine loop - To add wrinkle-like detailing to your clay, this little tool is quite efficient.
Twisted wire rake - This loop tool made of two twisted wires helps in blending the bumps and lumps present on the clay surface.
Guitar loop - Having similarity in looks like that of the twisted wire rake, this tool is made of an old guitar string and adds fine detailing on the sculpture.
Wire-tipped tool - A wire-tipped tool helps in adding wrinkles on the clay surface while sculpting.
Brushes - Brushes are used for various purposes in sculpting. From smoothening the wrinkled surface to adding liquids to the clay, brushes are important for everything.
Knives - Knives are essential for carving while adding fine and intricate details to the clay.
Scraper - Scrapers are good for scrapping out the excessive amount of clay from the surface of the pottery work.
Ribbon tools - These tools work magically in cutting or shaping of the clay from the surface to create intricate or smooth designs. Also, it helps in removing the excess clay
All of these tools are available at Blick Art Materials, a renowned art supplier. Definitely go check them out to see all of their high-quality tools that will make your sculpting game even stronger!
Tip #6: Sketch the clear mental image of your final piece
Make sketches of the mental image of your final piece before you start and the more detailed your sketch is the easier the actual sculpting process can be. Sketch the dimensions and ratios of the lengths so your final piece can be proportional and it helps to also sketch to scale using different viewpoints and angles.
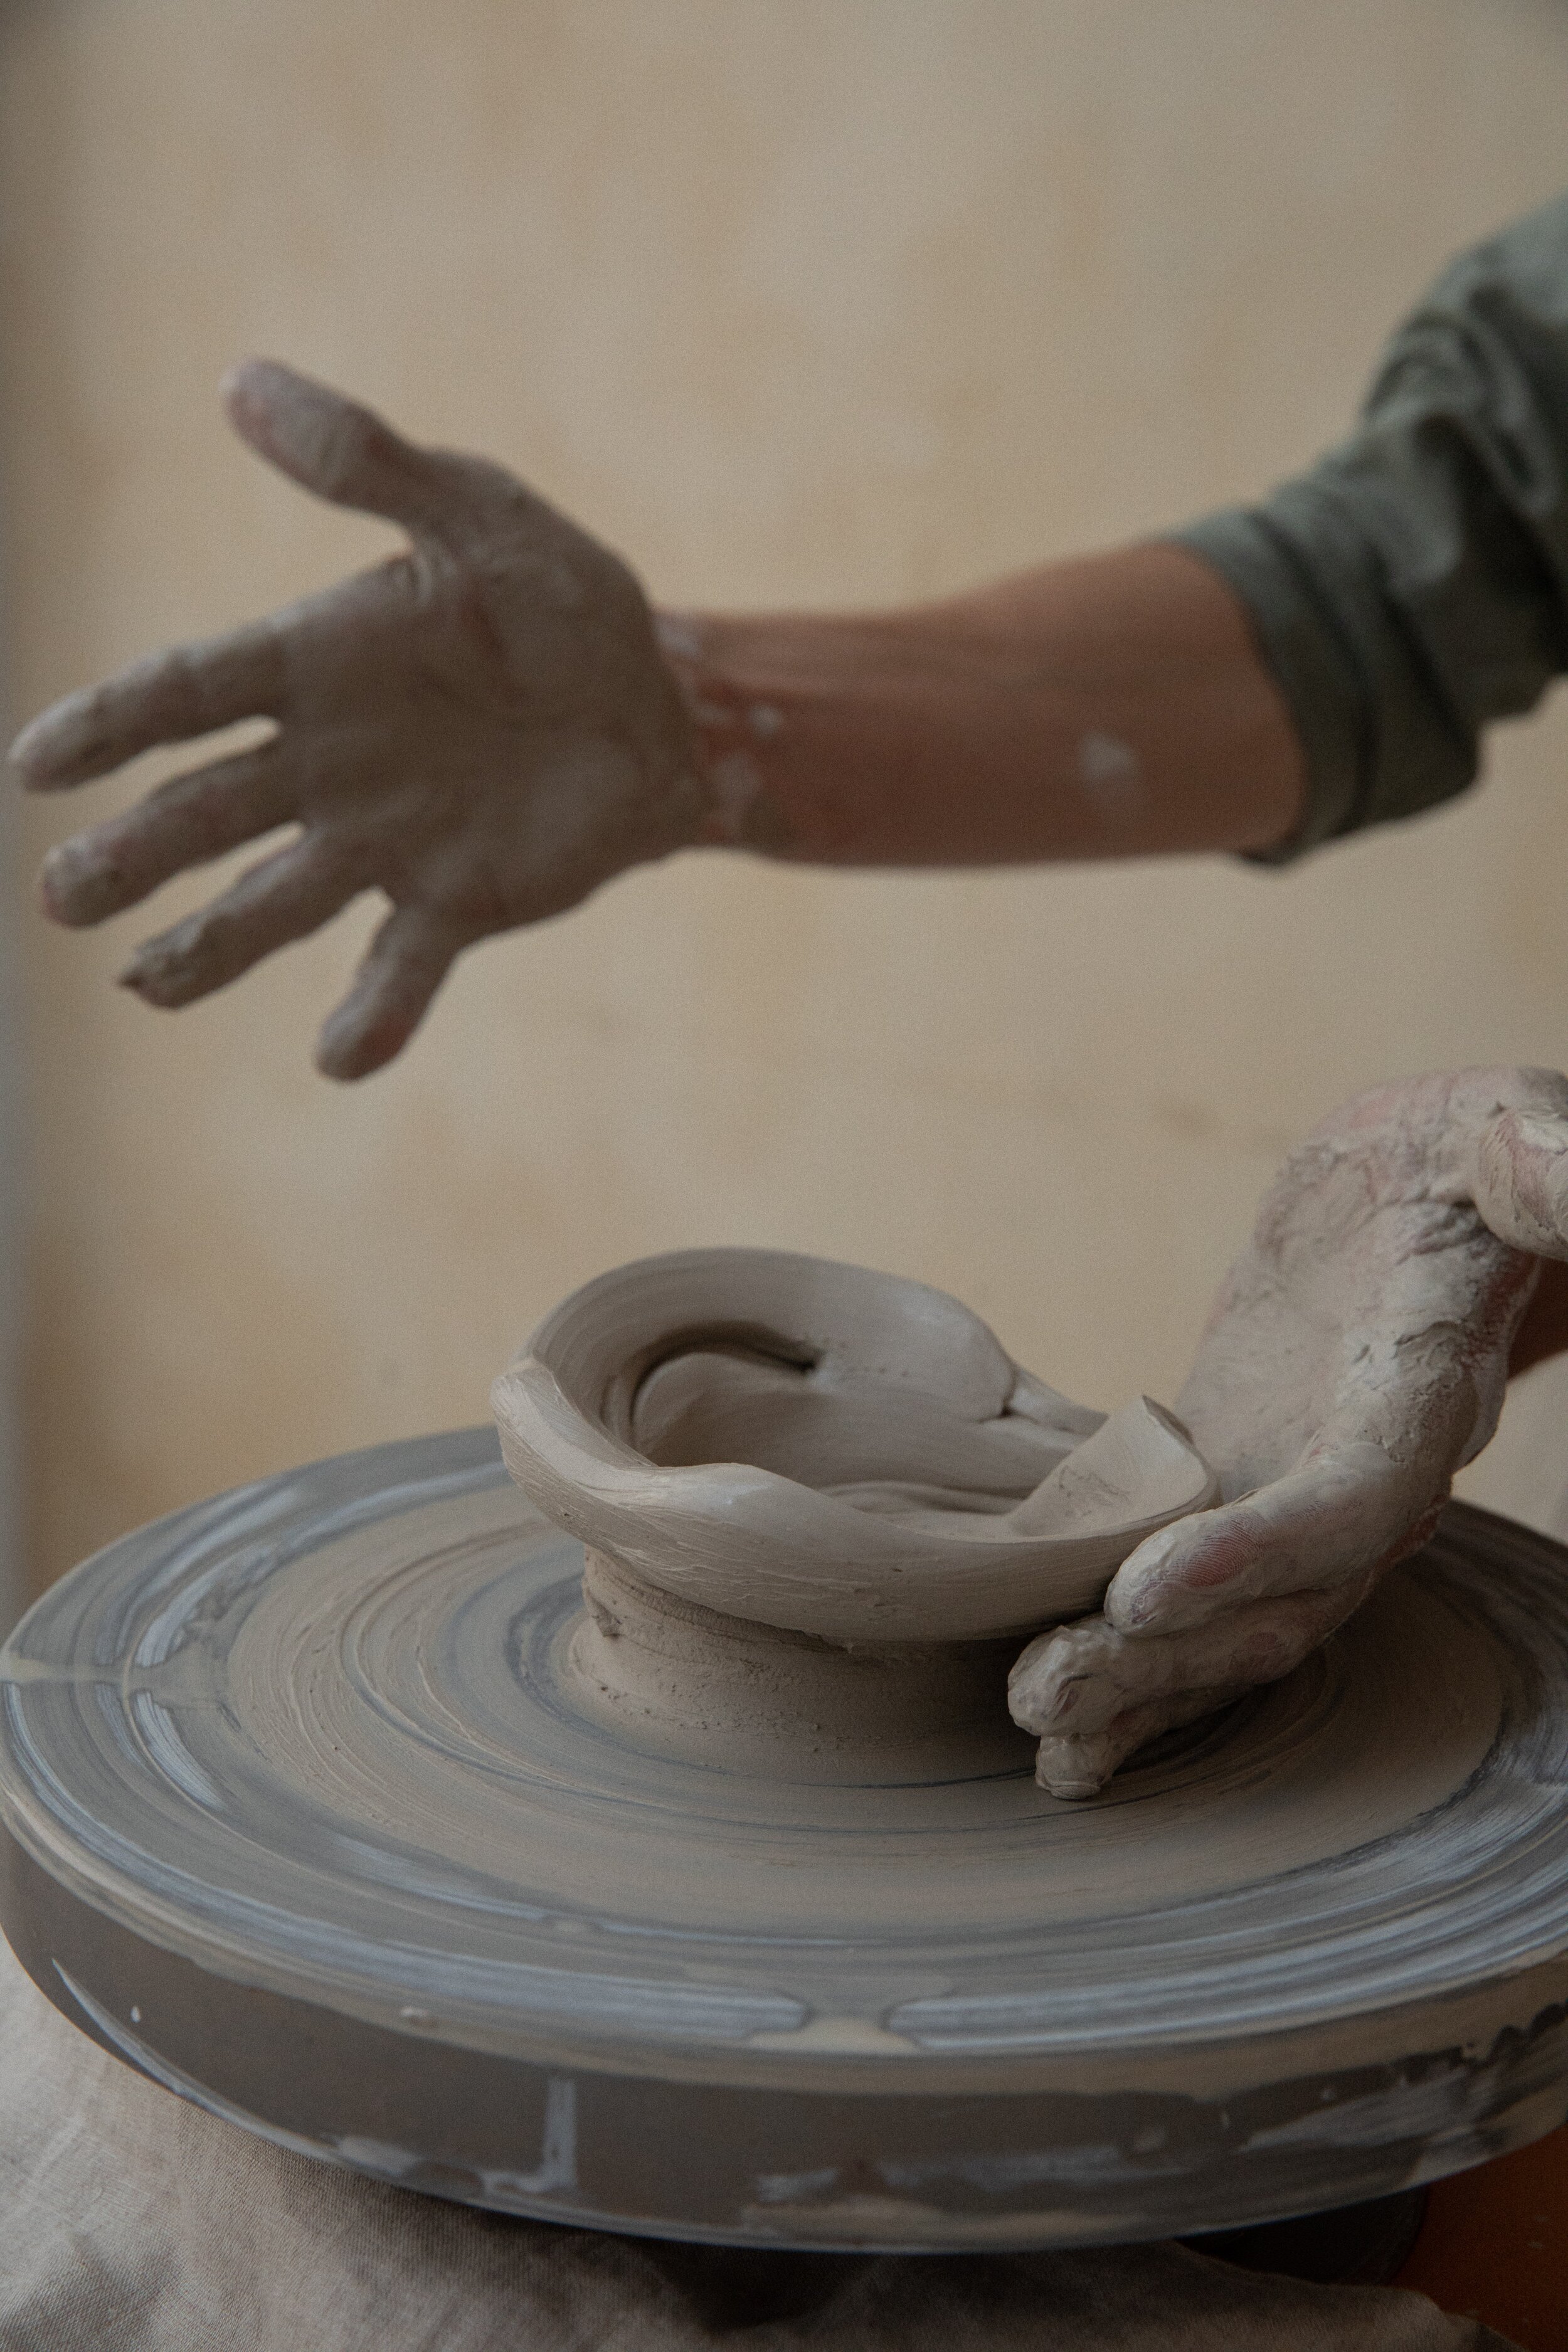
Tip #7: Coil the forms of your clay body
Coiling is a hand-building technique that helps create structural strength in your piece. It does this by allowing you to have control over the building up of the walls so that they’re less likely to collapse. ClayCraft has created a step-by step guide on Coiling For Beginners which highlights the tools, techniques and materials that you wil need to integrate.
Tip #8: Choose the best glaze for the clay you’re working with
Believe it or not, something as simple as choosing the wrong glaze for your clay can ruin your final piece because the relationship (ie. the glaze fit) and compatibility between glaze and clay are very important especially during the firing process when the glaze undergoes thermal expansion. When choosing your glaze you want to consider the temperature at which you are firing (because glazes fire at different temperatures), finish you want and the purpose of the sculpture (ie. is it for decorative or functional purposes).
How To Choose The Best Glaze
Step 1: Read the instructions on the glaze. Look for key information such as the temperature to which it fires (also known as the cone system).
Step 2: Choose a glaze that fires at the same temperature as your clay.
Doing this will help you to avoid over-firing (firing above the tested temperature) because this can cause the clay to run and melt and have poor glaze adhesion. It will also help to prevent under-firing which can result in cosmetic issues such as rough, dull textures.
Glazes are divided into 3 categories.
1. Low fire glazes (temperatures range between 1830-1940F (999-1060C)
Usually, they are cone 06-04 on the system. They can result in vivid colours and are more economical because they use less power in order to fire.
2. Mid fire glazes (temperatures range between 2157-2232F (1186-1222C)
They typically range between cone 4-6
Can create both earthy and vivid colours
Great functionally as they are strong
3. High fire glazes (temperatures range between 2305-2381F (1263-1305C)
Usually, these are cone 8-10
You would typically use a gas kiln to fire these glazes because an electrical one would consume too much power and result in high costs.
I’d also recommend Blick Art Materials for glazes because they have a wonderful and affordable array of low, mid and high glazes that are perfect for beginners and experienced sculptors.

Tip #9: Glaze after the first firing
You should try to always remember to bisque fire first. Bisque firing is the first round of firing which allows the clay to become stronger and porous enough to absorb the glazes so, in essence, it creates the ideal environment for glazing to follow. This process will also prevent your glaze from flaking off.
Tip #10: Build an Armature
Kten describes it perfectly - “The armature is the support structure or framework that you will build the sculpture around. This is important for keeping your clay from collapsing or falling apart as you work.
An armature is typically made of wire, especially in smaller sculptures. Wire is great because it can be easily manipulated into any shape. With bigger works, you might choose materials such as PVC. The key is to utilize a material that will provide a foundation for the piece as you work and to support it once it’s completed.”
Conclusion
So, there you have it! 10 tips and tricks to help get your sculpting journey started and you don’t need to be a pro to hear this…For the first time, we are accepting all 3D mediums alongside our usual 2D mediums. You’re a beginner and that’s okay. Our award is open to emerging artists at all levels; all we want is your best. Why not submit your sculptural works for a chance to win amazing prizes including our $7,000 cash prize pool, access to our skilled Marketing Team, $250 USD worth of art supplies from Blick Art Materials and more! Please submit your work by Tuesday 31 st August 2021 at 11:59 pm GMT-4 to qualify for our Early Bird Discount. Regular Submissions are open until Monday 22nd November 2021 at 11:59 PM GMT-4.
We look forward to seeing what you have been sculpting lately!